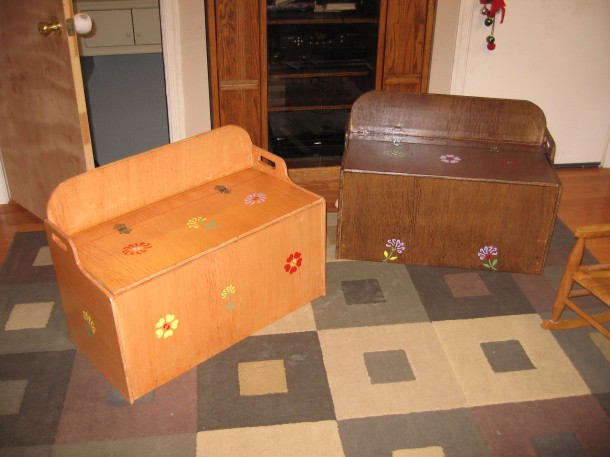
When I was about... I dunno, maybe seven years old, or so, my dad made me a toy box. Yeah, I know, big deal. Well, I still have that old toy box - it's going on 35 years old, now. And I remember whn my dad gave it tom me. I remember the two of us putting a sticker on it for the local baseball leagues. Precious memories, right?
Well, I'm a self-centered old bastard, and I want my kids to remember me fondly after I'm dead gone. And on a practical side, a toy box gives them a place to put their junk. Well, besides their beds and floors, I mean. So, a few years back (around 2009, I think), I "reverse engineered" my old toy box, and made one for my two oldest kids. I wrote the plans down, and made the boxes out of 1/2 inch plywood, A-Grade on both sides. The two boxes came out looking much nicer than I hoped, but as you get closer to them, you can see a lot of imperfections. That's OK, I guess, it gives the boxes some character, and I think they came out pretty well, given my less than wonderful woodworking abilities.

When I finished hese two boxes, I came away with a few "lessons learned." Right at the top of that list was "next time, don't use plywood."
Don't get me wrong, the boxes look nice enough, but the plywood has rough edges after the cutting, and even though I used a rasp file on them to knock all the fur off, they still could have been a little nicer. These became a bit of a pain when I applied stain and polyurethane coats, too... Well, It's taken two years, but I finally got around to making toy boxes for my little ones. Some of you crotchety old pharts might also want people to think nice things about you, even though you're really mean old so-and-so's, so I thought I'd detail some of the steps, here, so you could have an attempt at havnig yourkids like you a little more, too.
First off, I had to redrwa my plans. Using 1/2" plywood makes all the cuts and routes a little different than for 3/4" pine. I looked to see what sizes of lumber I could get at the local Lowes or Home Depot. I was lucky, I was able to pick up pre-joined pine boards for a reasonable price. To build two full toy boxes, I needed one Lowes Item #: 21786, and four (4) Lowe's Item#: 20740's. Of course, for only one toybox, I would have used smaller cuts. And Like I said, finding them in these dimensions worked great, as there's no way I could join smaller boards myself.
Total bill of materials was (excluding stain/paint, and tools):
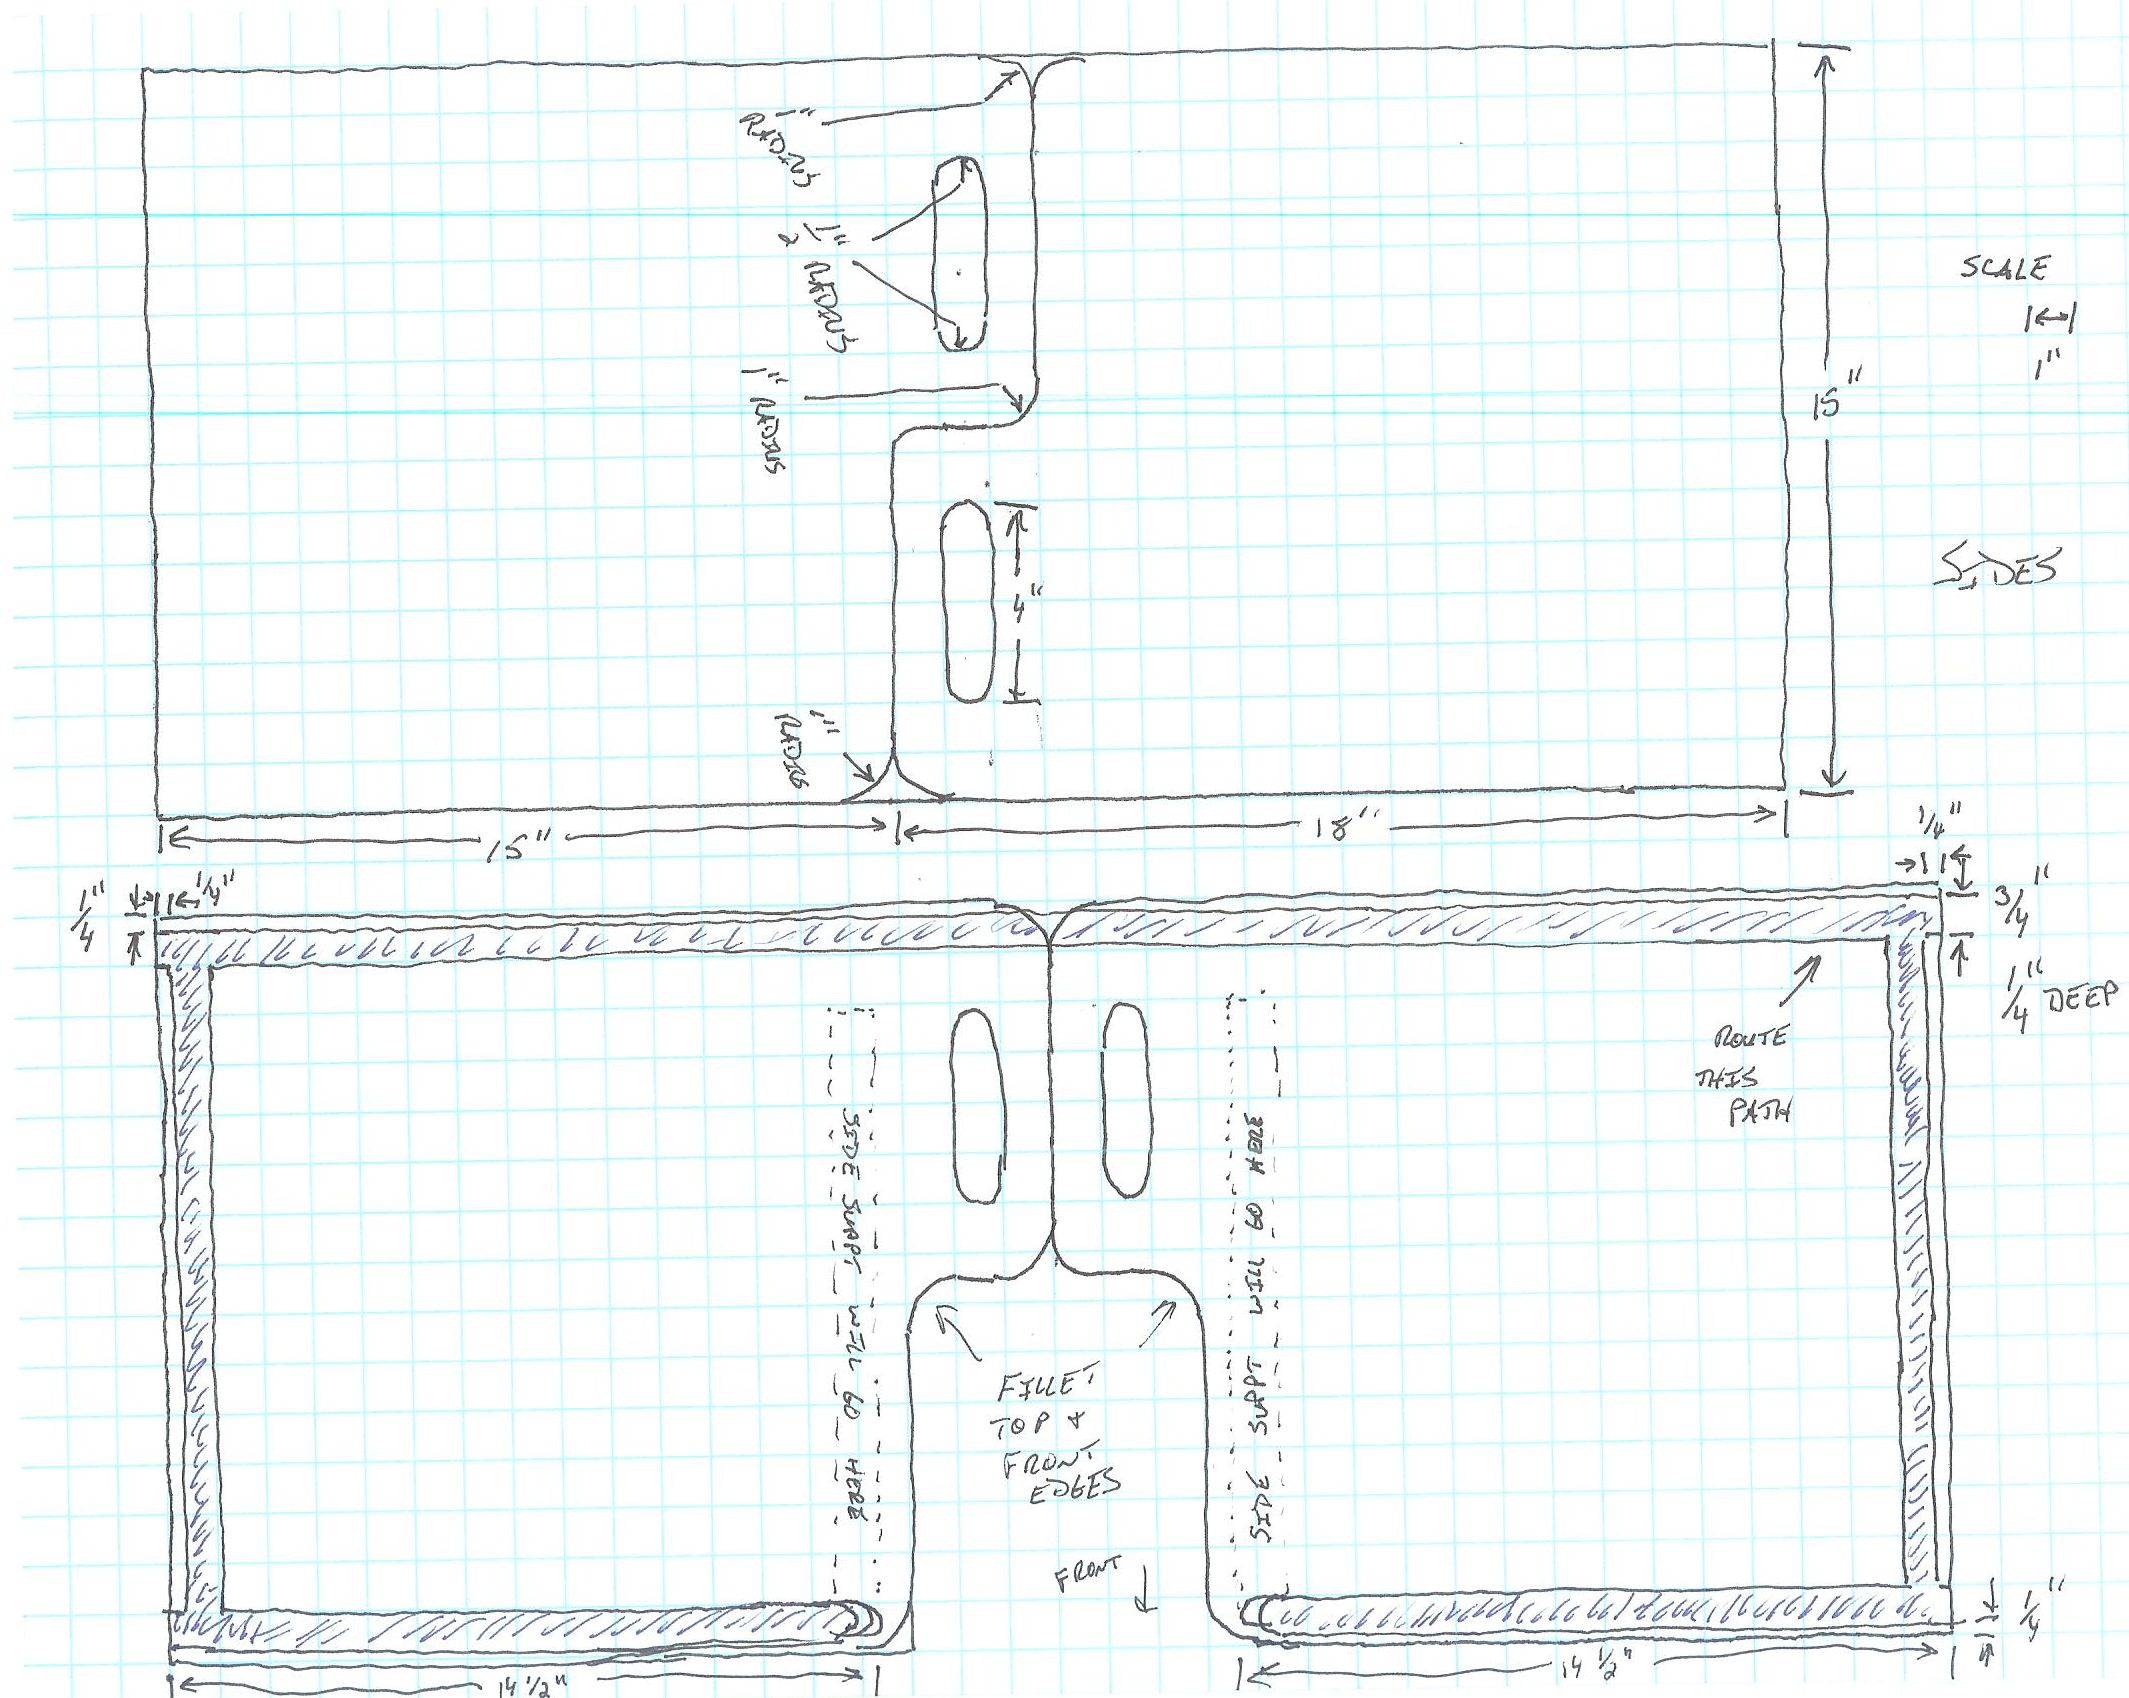
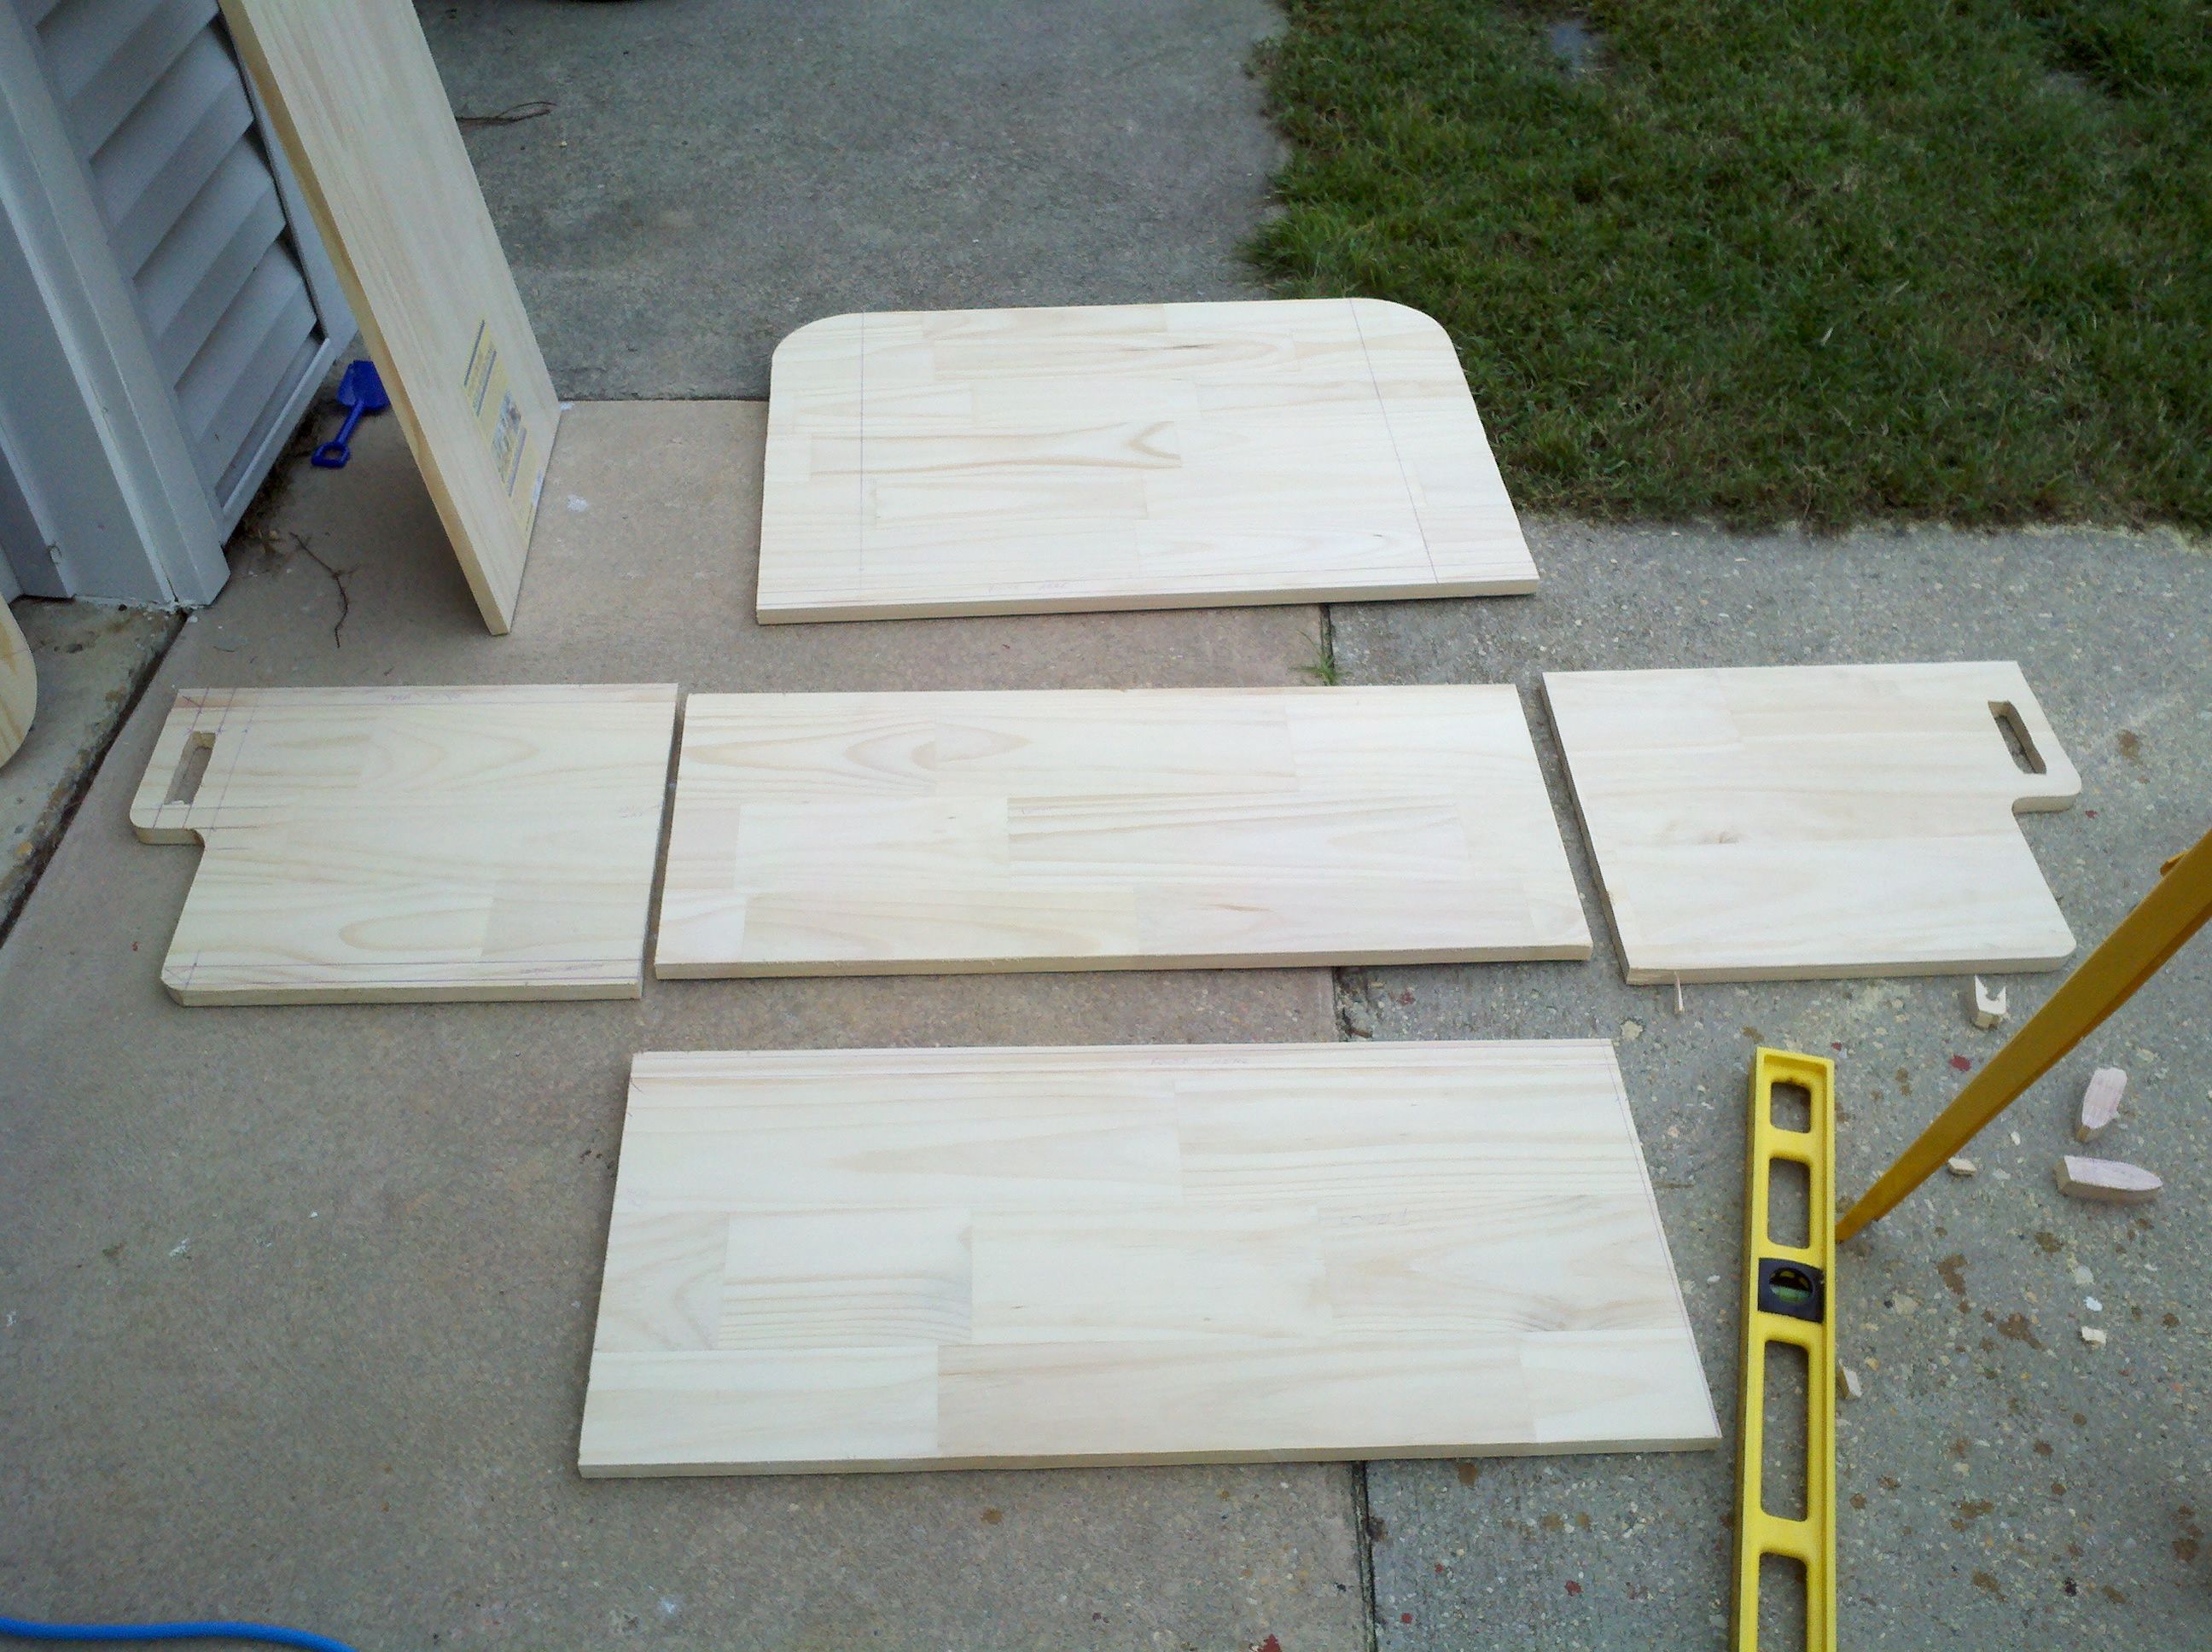
The first thing, of course was to measure and mark off the "patterns" on the different pieces of wood. There are a couple hard parts to that, at least foor my amateur abilities, and that's the radii - good thing I have a compass (the kind for making circles). Measure twice and cut once, not the other way around, right? After all the marking was finished, I cut the major pieces out to create a kit. For the long, straight sections, I used a circular saw (I don't have a table saw). For the curves, I used a jigsaw (I don't have a scroll saw). The way I marked off the pieces allowed me to basically create two sides with just one cut. After the cutting was finished, I had a toy box kit mostly ready:
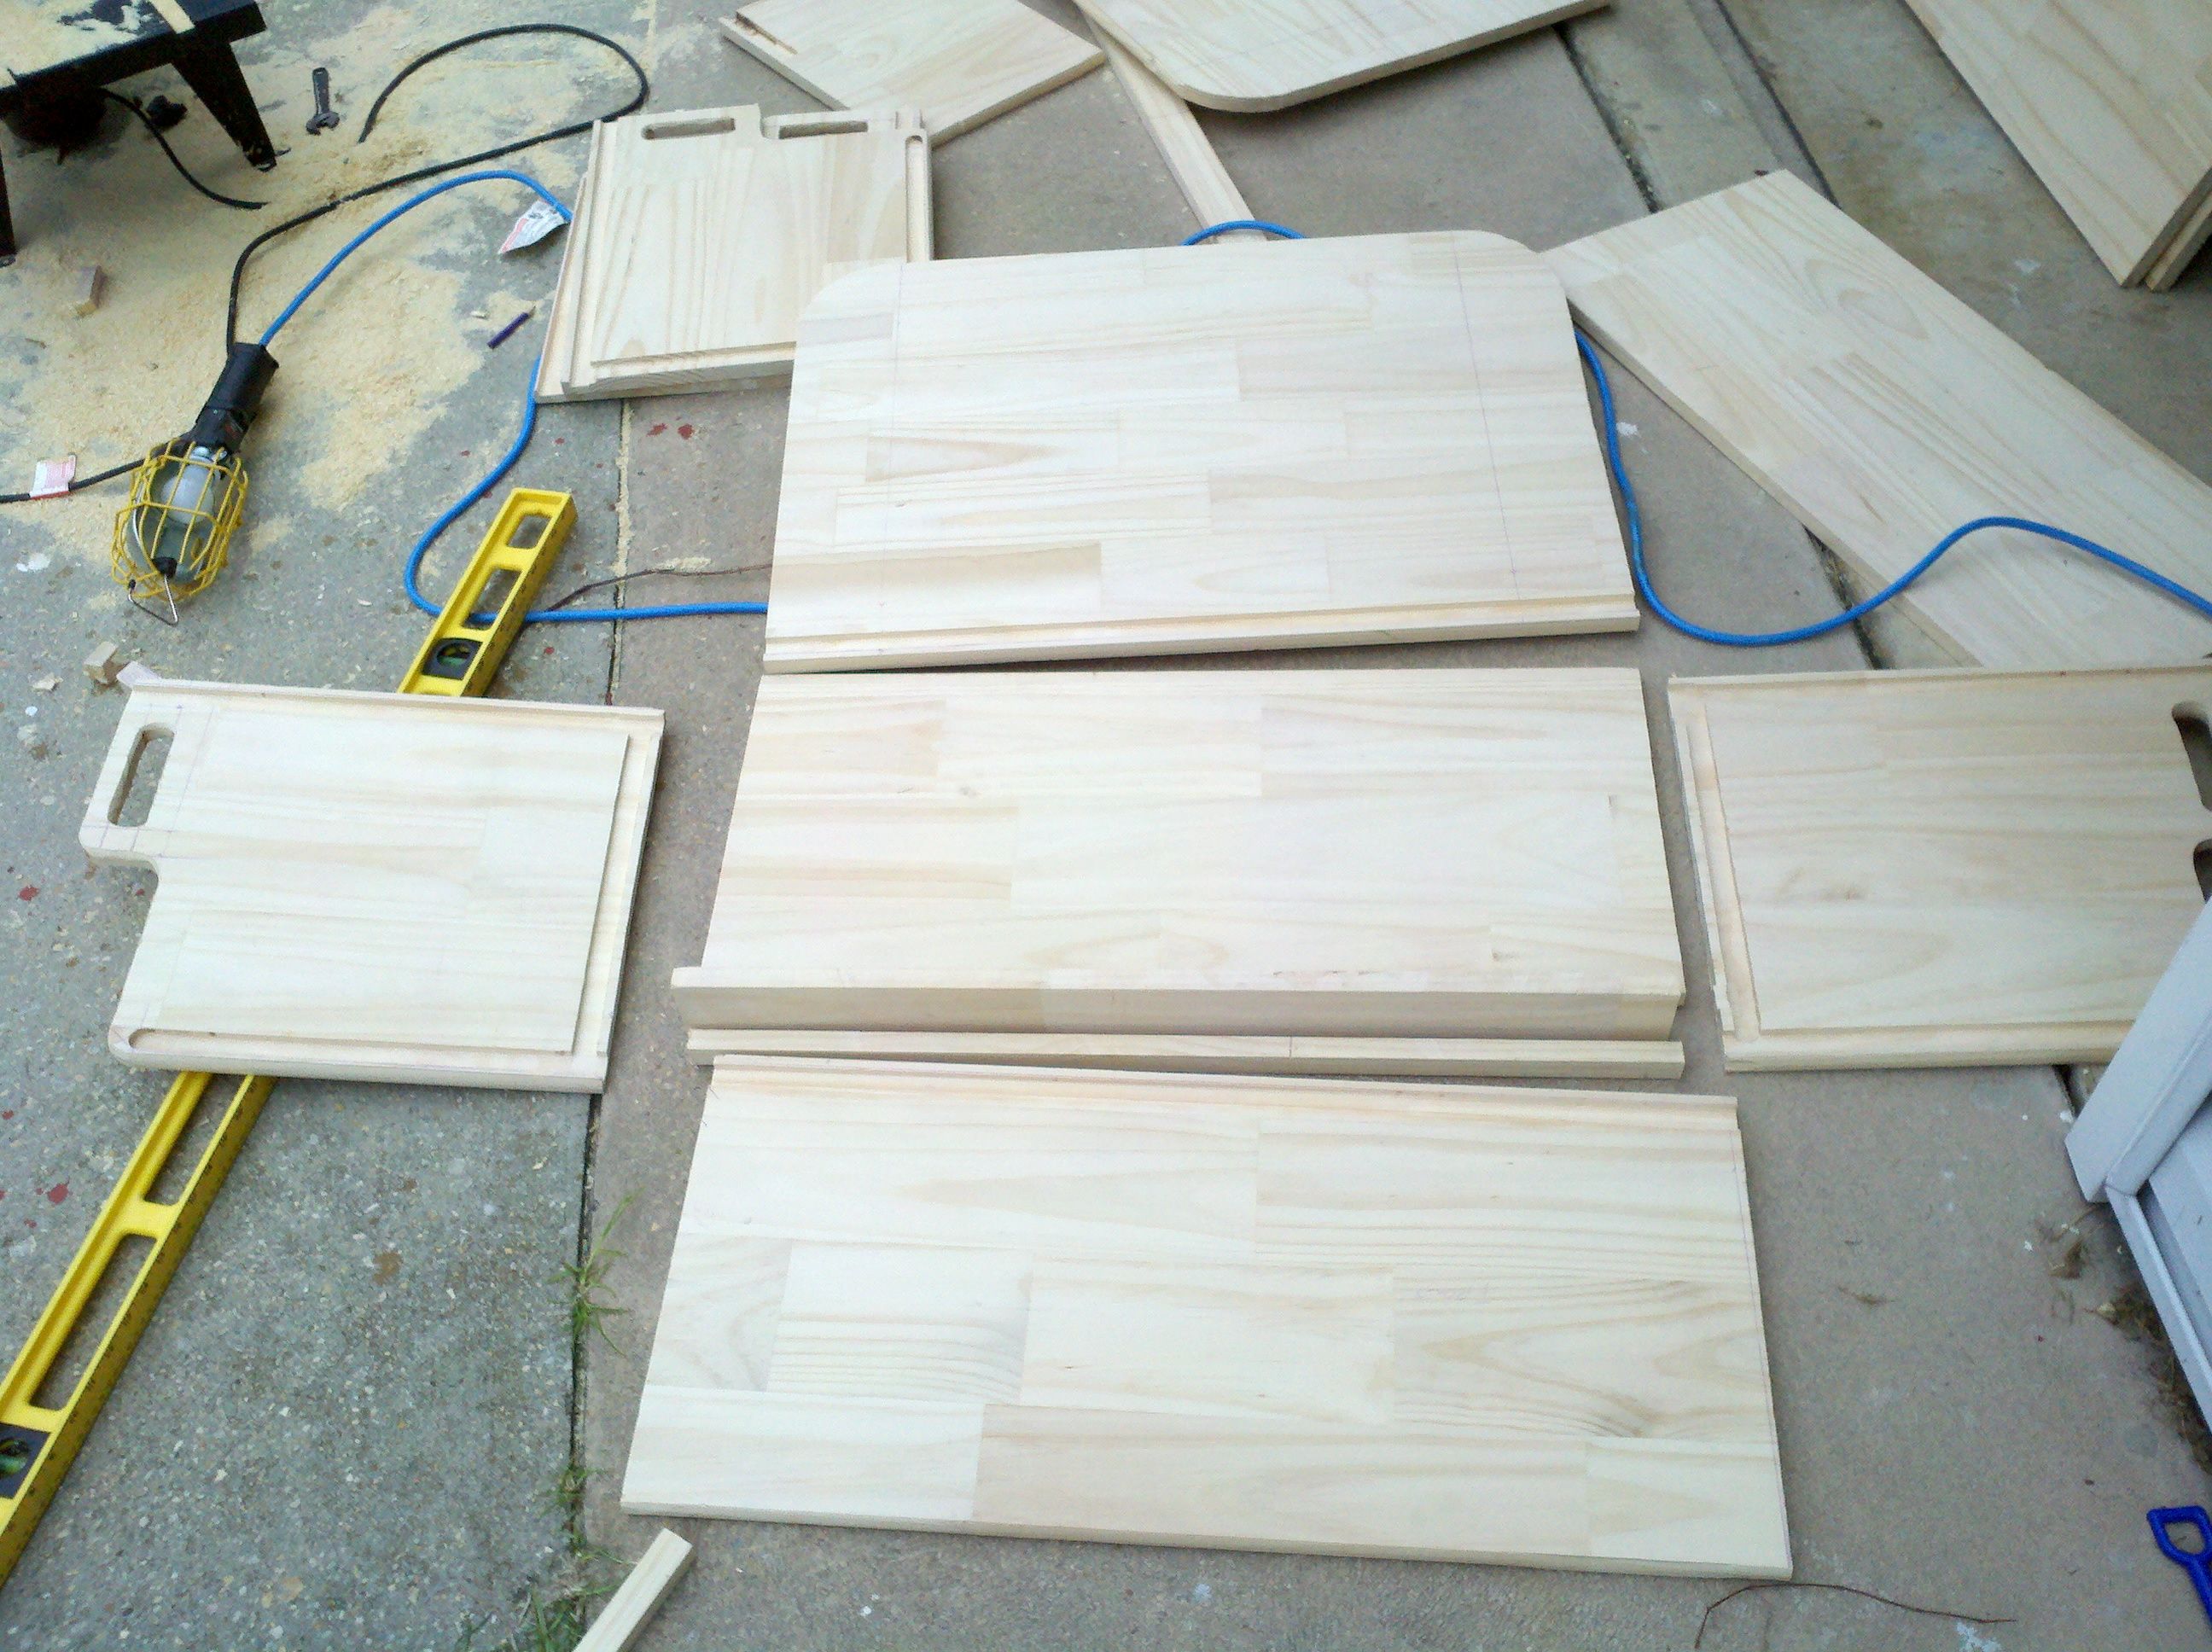
The next step is routing. For the grooves (where all pieces mount together), I used a 3/4" straight router bit (I do have a router table) - the grooves are between 0.25" and 0.3" deep, and are set back from the edges by about a quarter inch. I used the router to filet the top and front edges, as well as the insides of the handles. I'm not sure what the bit is, as I inherited it - it's about an inch tall, and cuts a circular edge that's probably about a 2- or 3 inch radius, but that's just guessing. All I wanted to do was round off the exposed areas. A shorter-radiused bit would probably have looked nicer, in the end, but I think this looks fine. For my amateur skills, the hardest part was routing the radii - look closely, and you can see where the bit dug in and made a divot while I was trying to go around the curve. And a few other places, as wel... D'oh. When that was finished, I had a toybox kit:
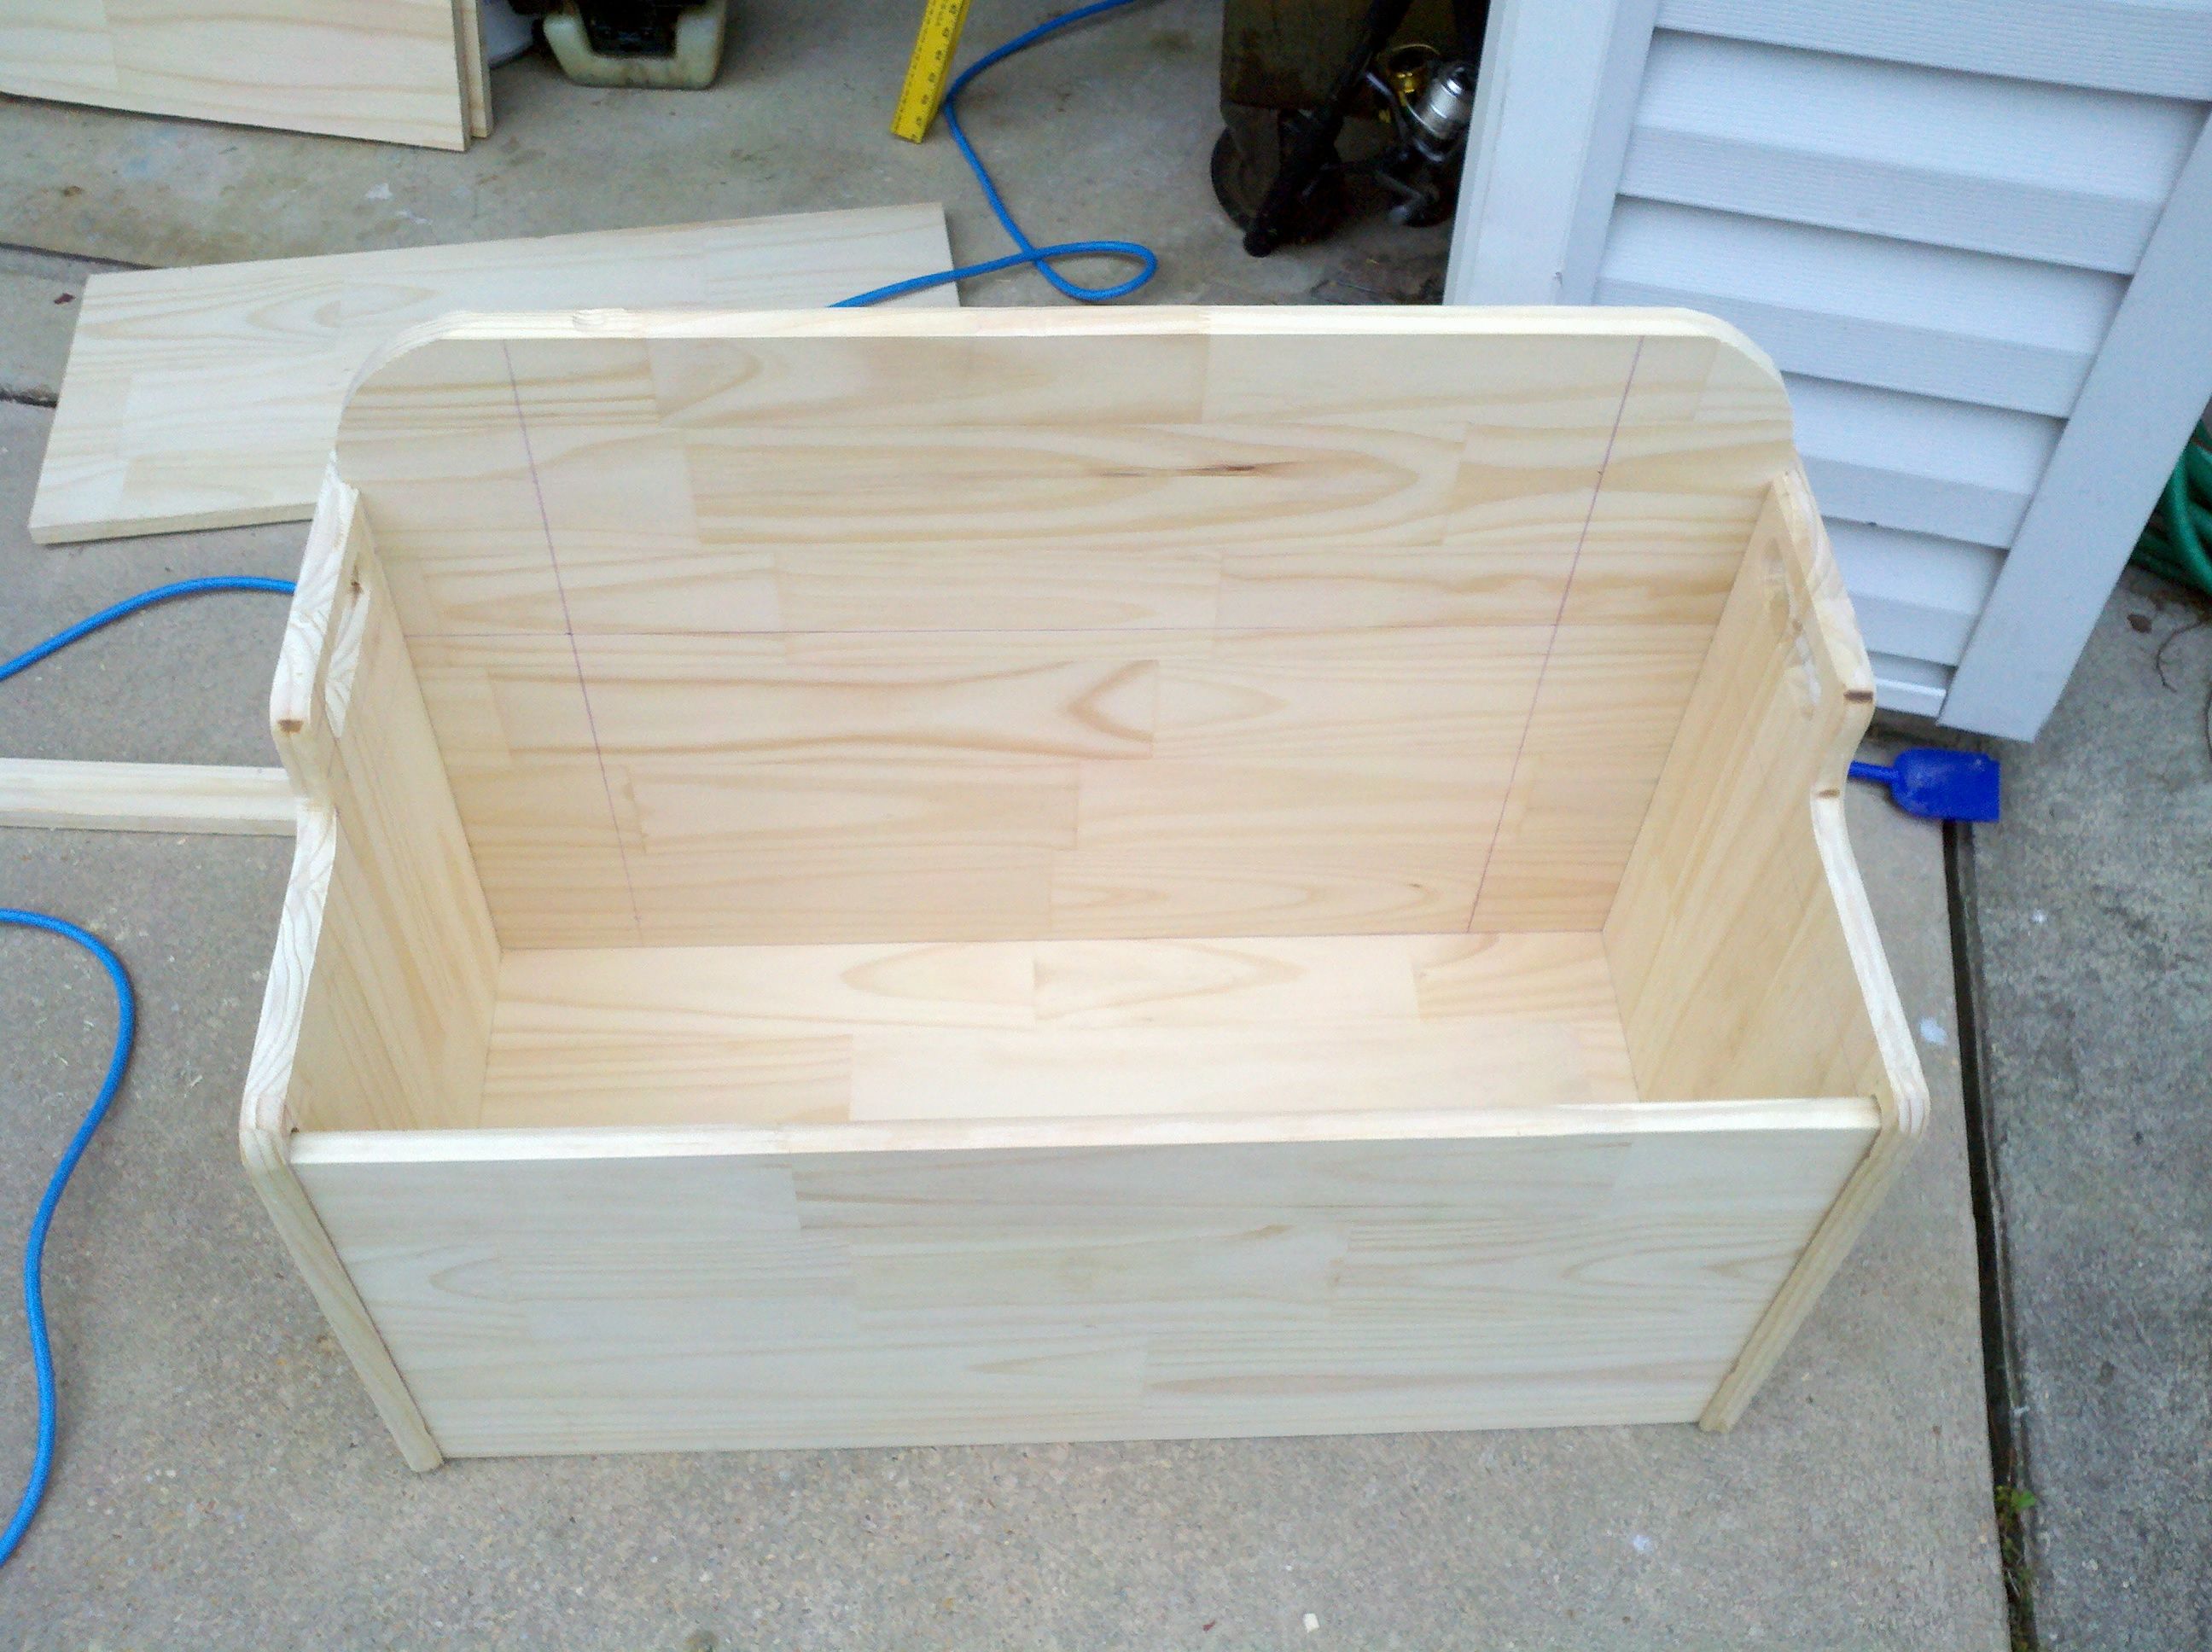
I realize that I could've probably gotten by without routing the grooves, or by not setting them back. It would likely have looked okay, and had a litle bit more room inside, to boot. However, I liked the way my old toybox looks, so I stuck with the pattern. Next step, of course, is to assemble the kit. I used Elmer's carpenter's glue, and set the nails about every two inches. I put the nails through every routed groove - I realize that's probably overkill, but it seems to have worked well. Be sure to assemble the kit without glue or nails once before you "do it for real," just to be sure. The kit went together as a very tight fit, and pretty much held together with no nails or glue. I guess I got lucky. I stopped at putting the main part of the boxes together, and let them sit for a couple days while the glue cured.
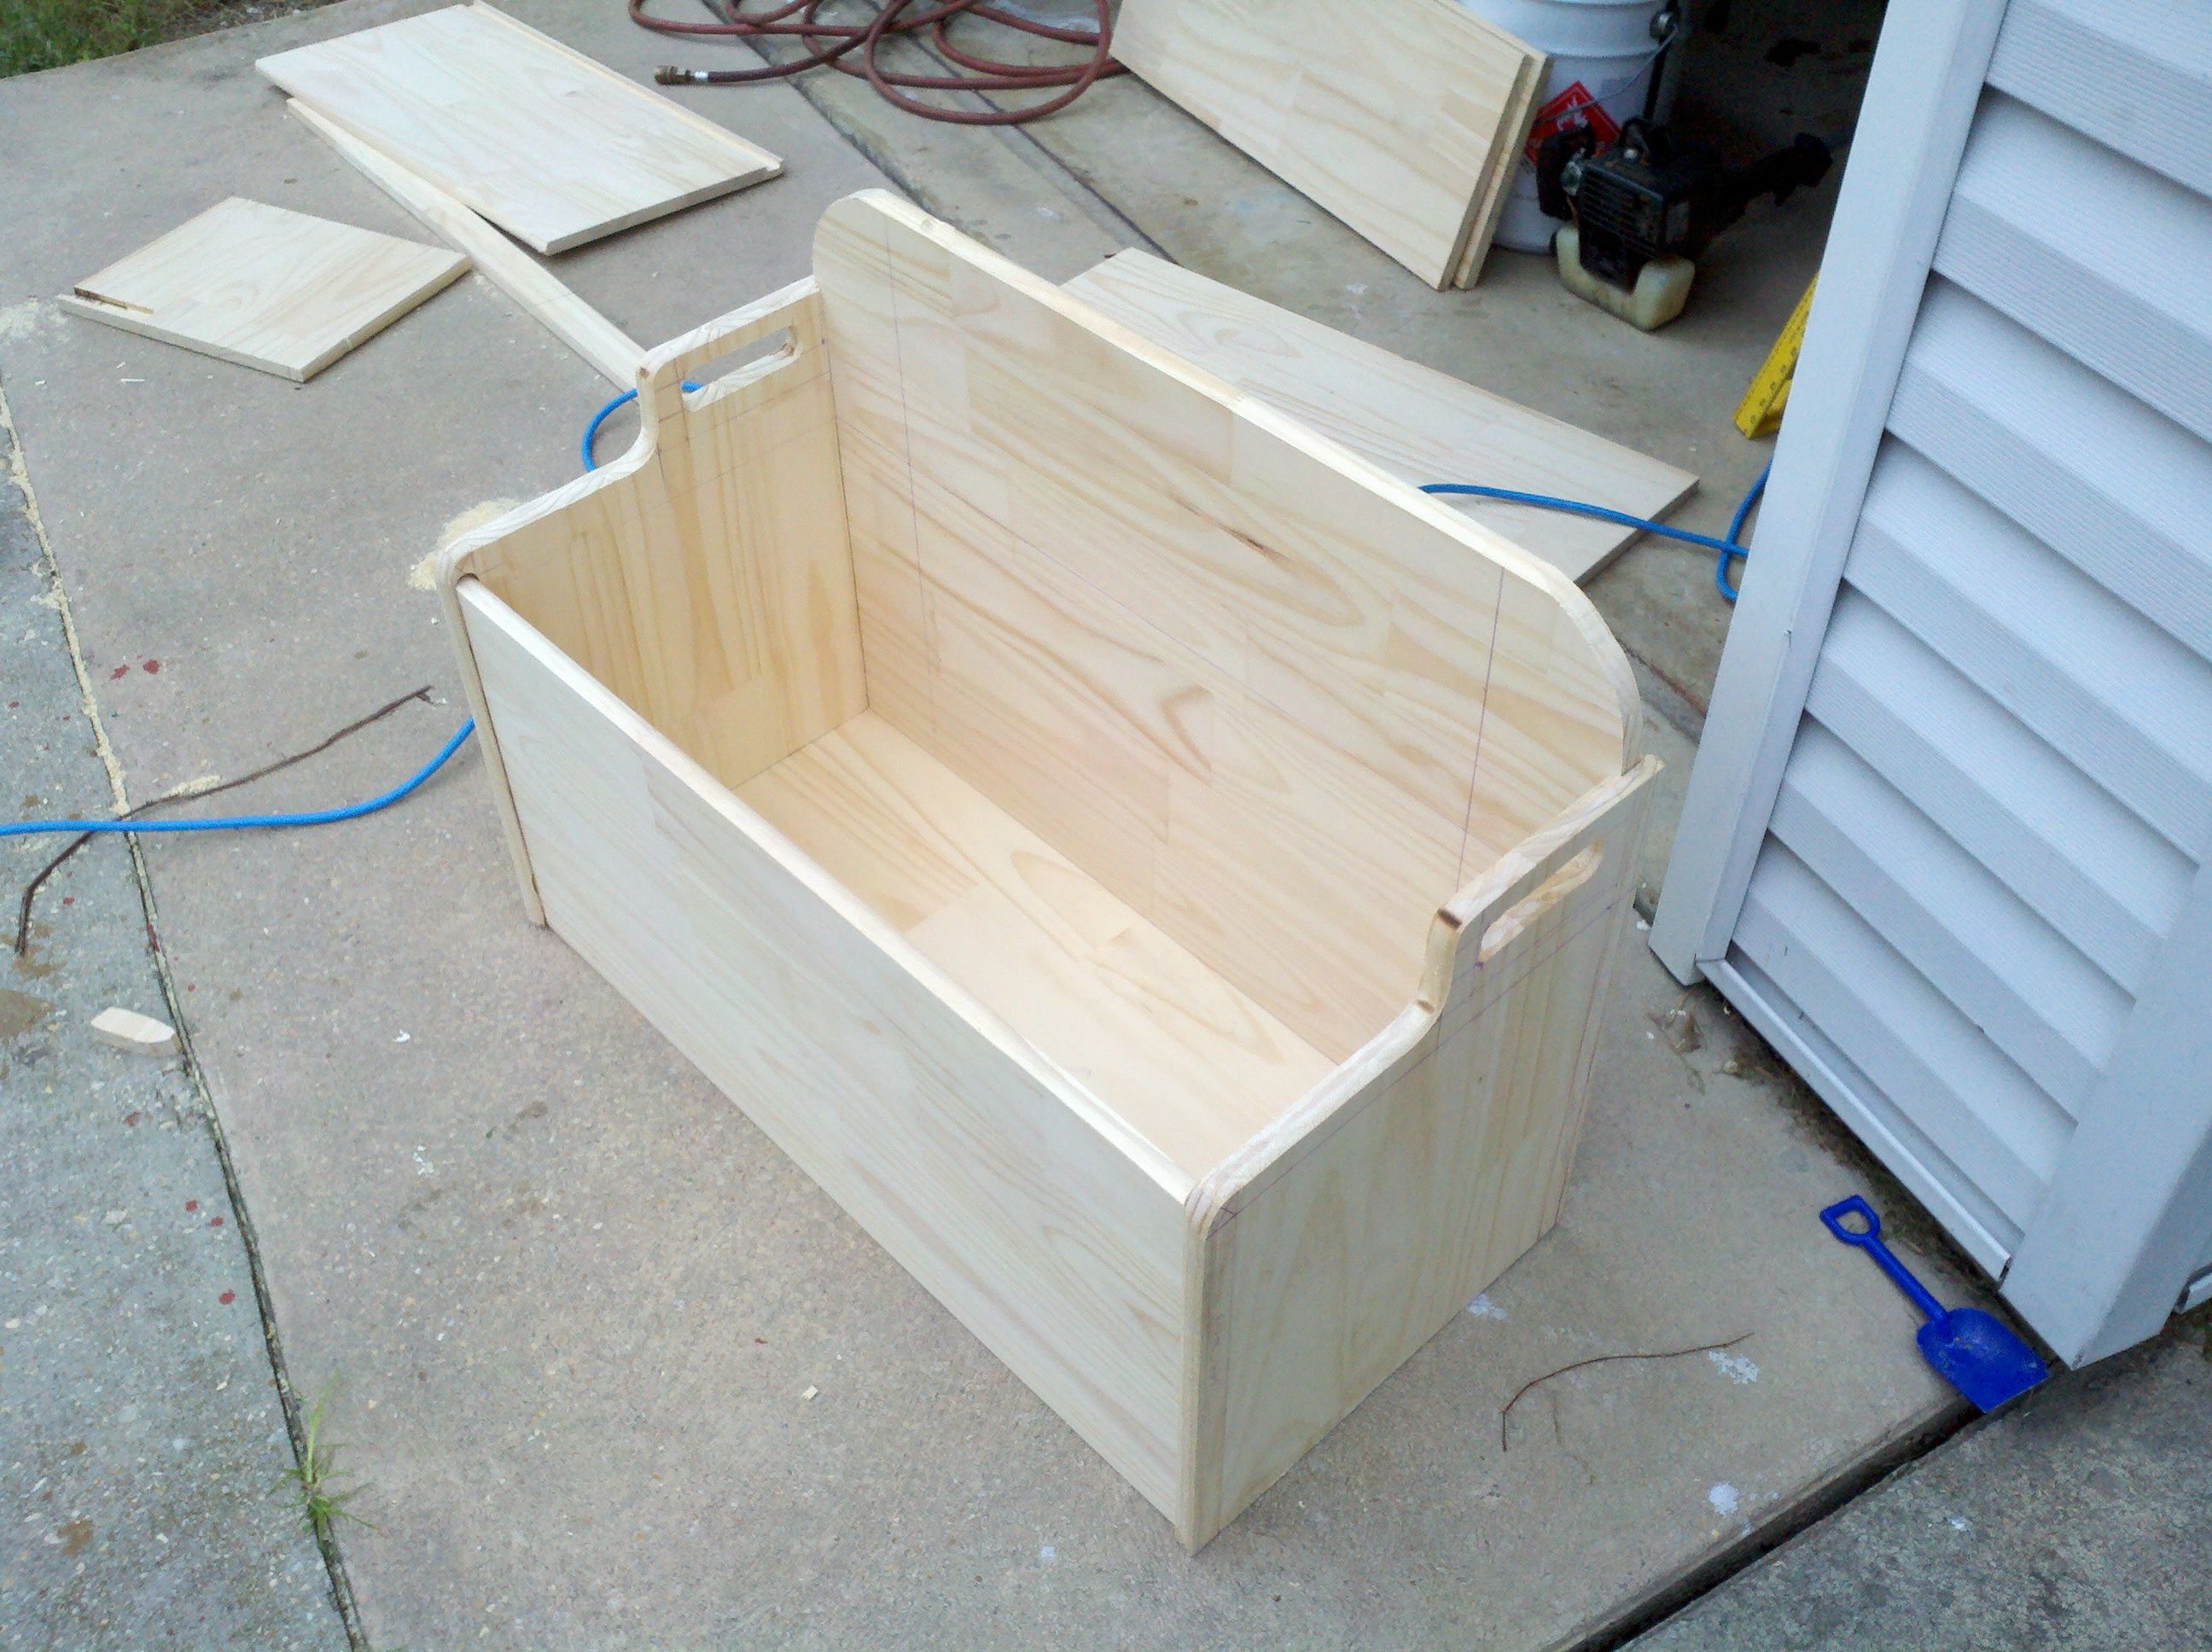
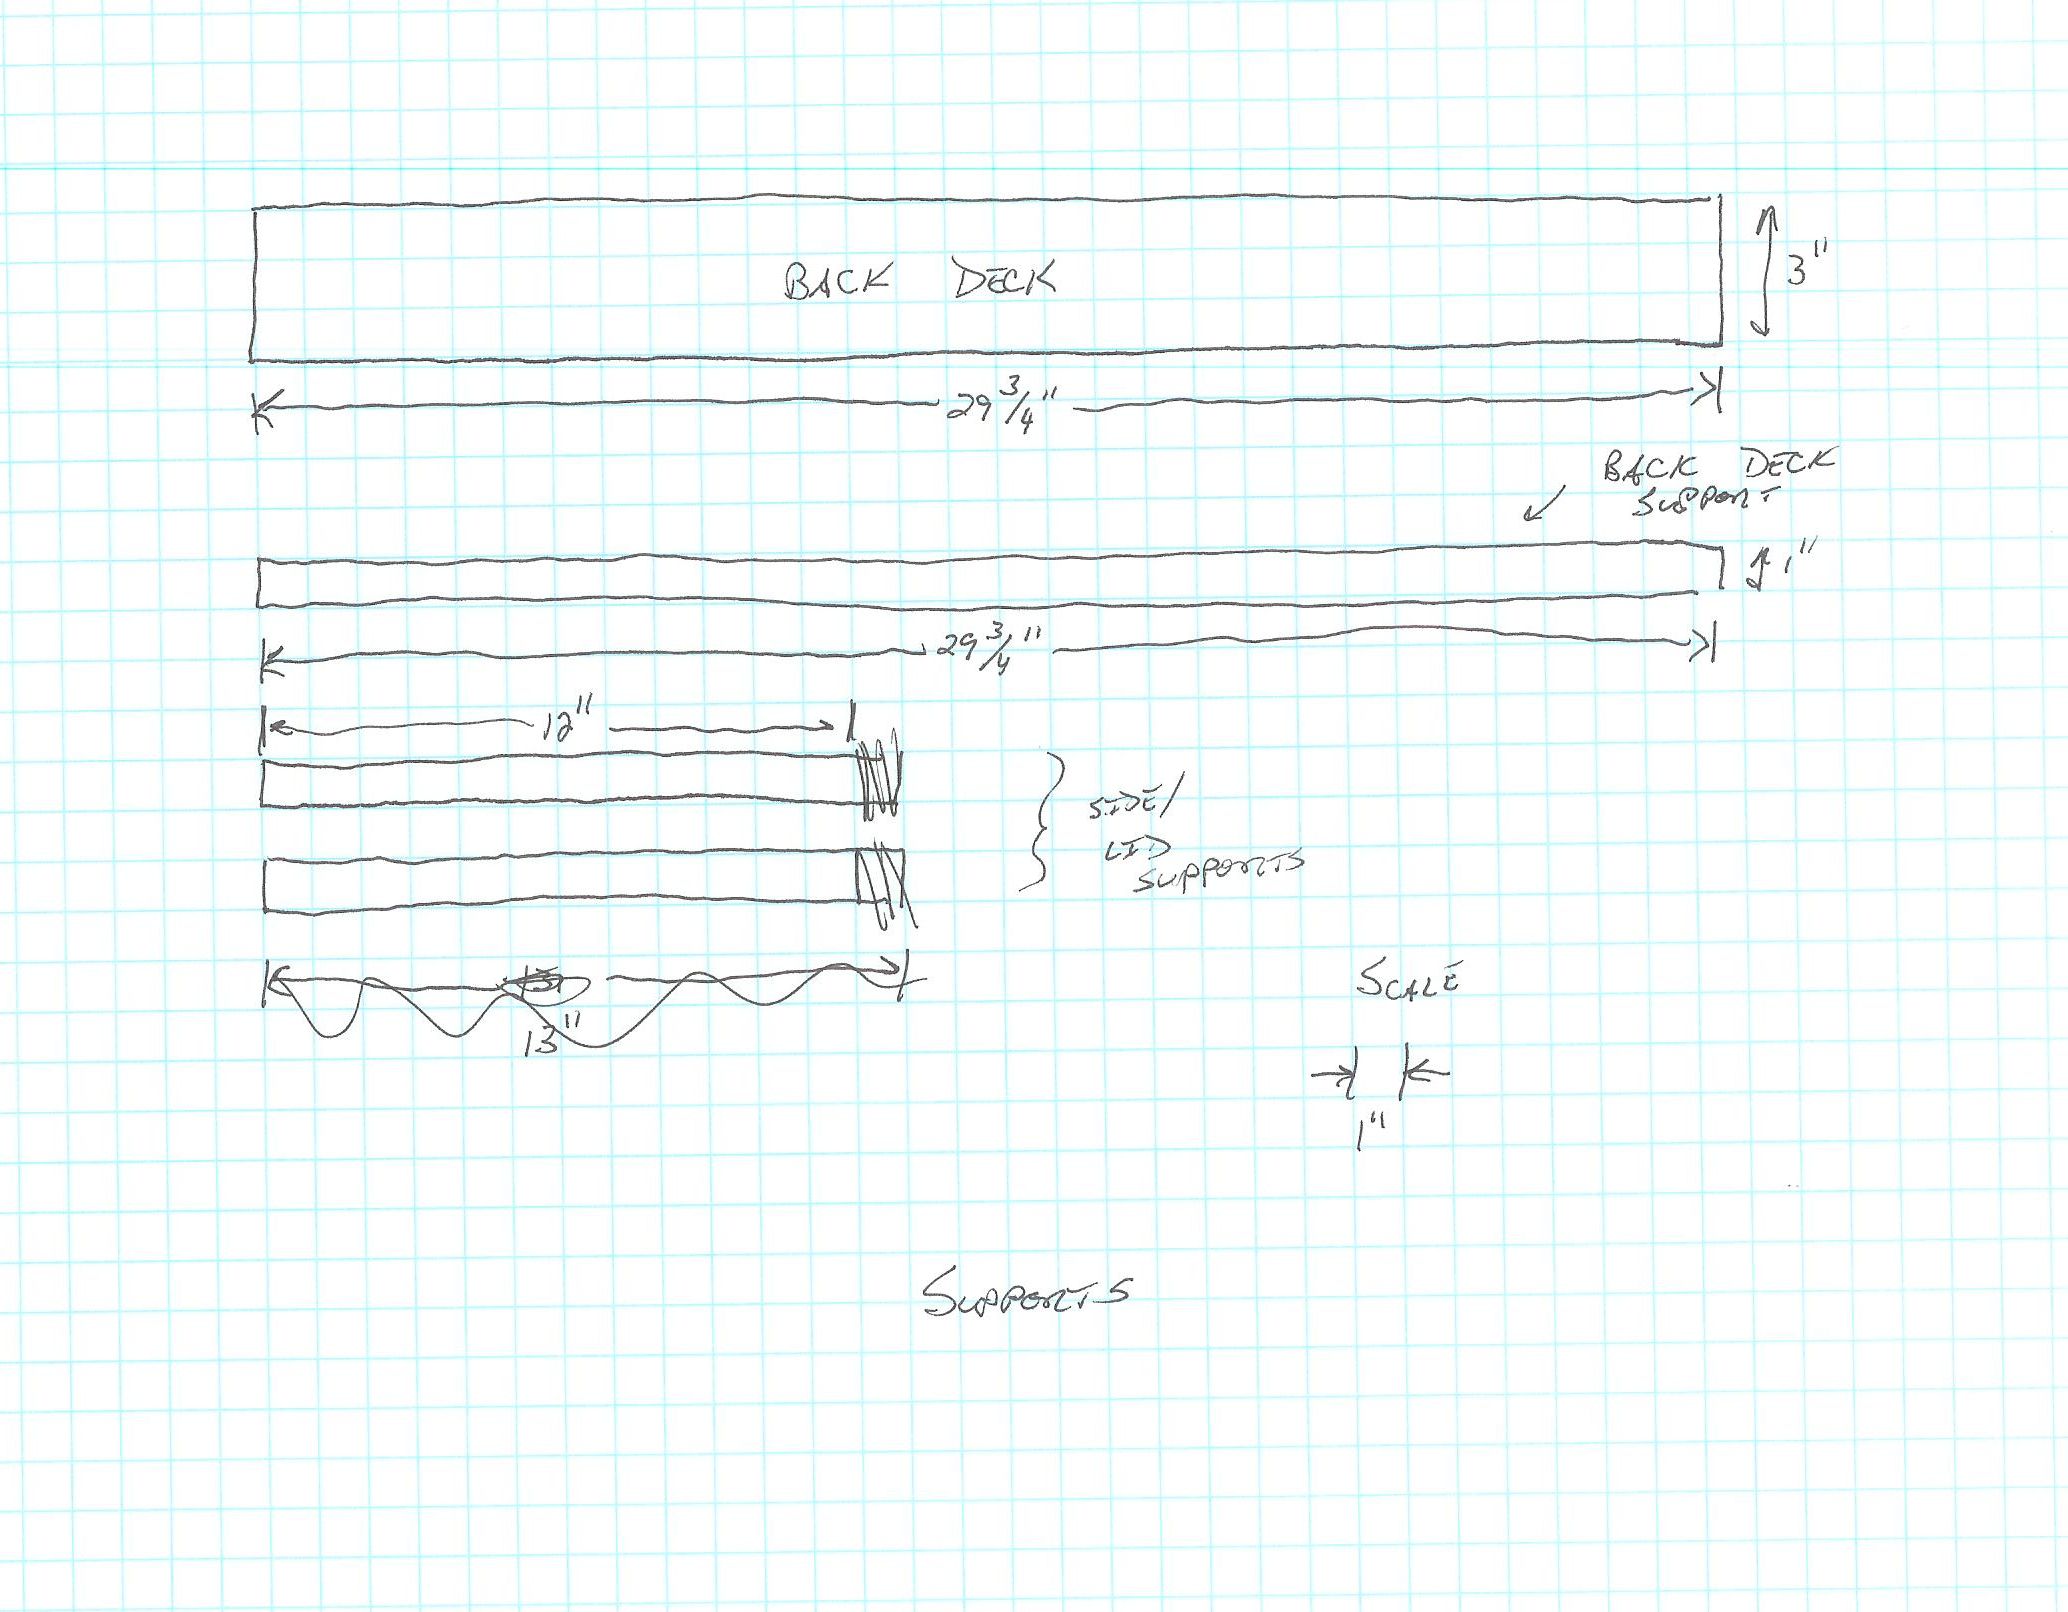
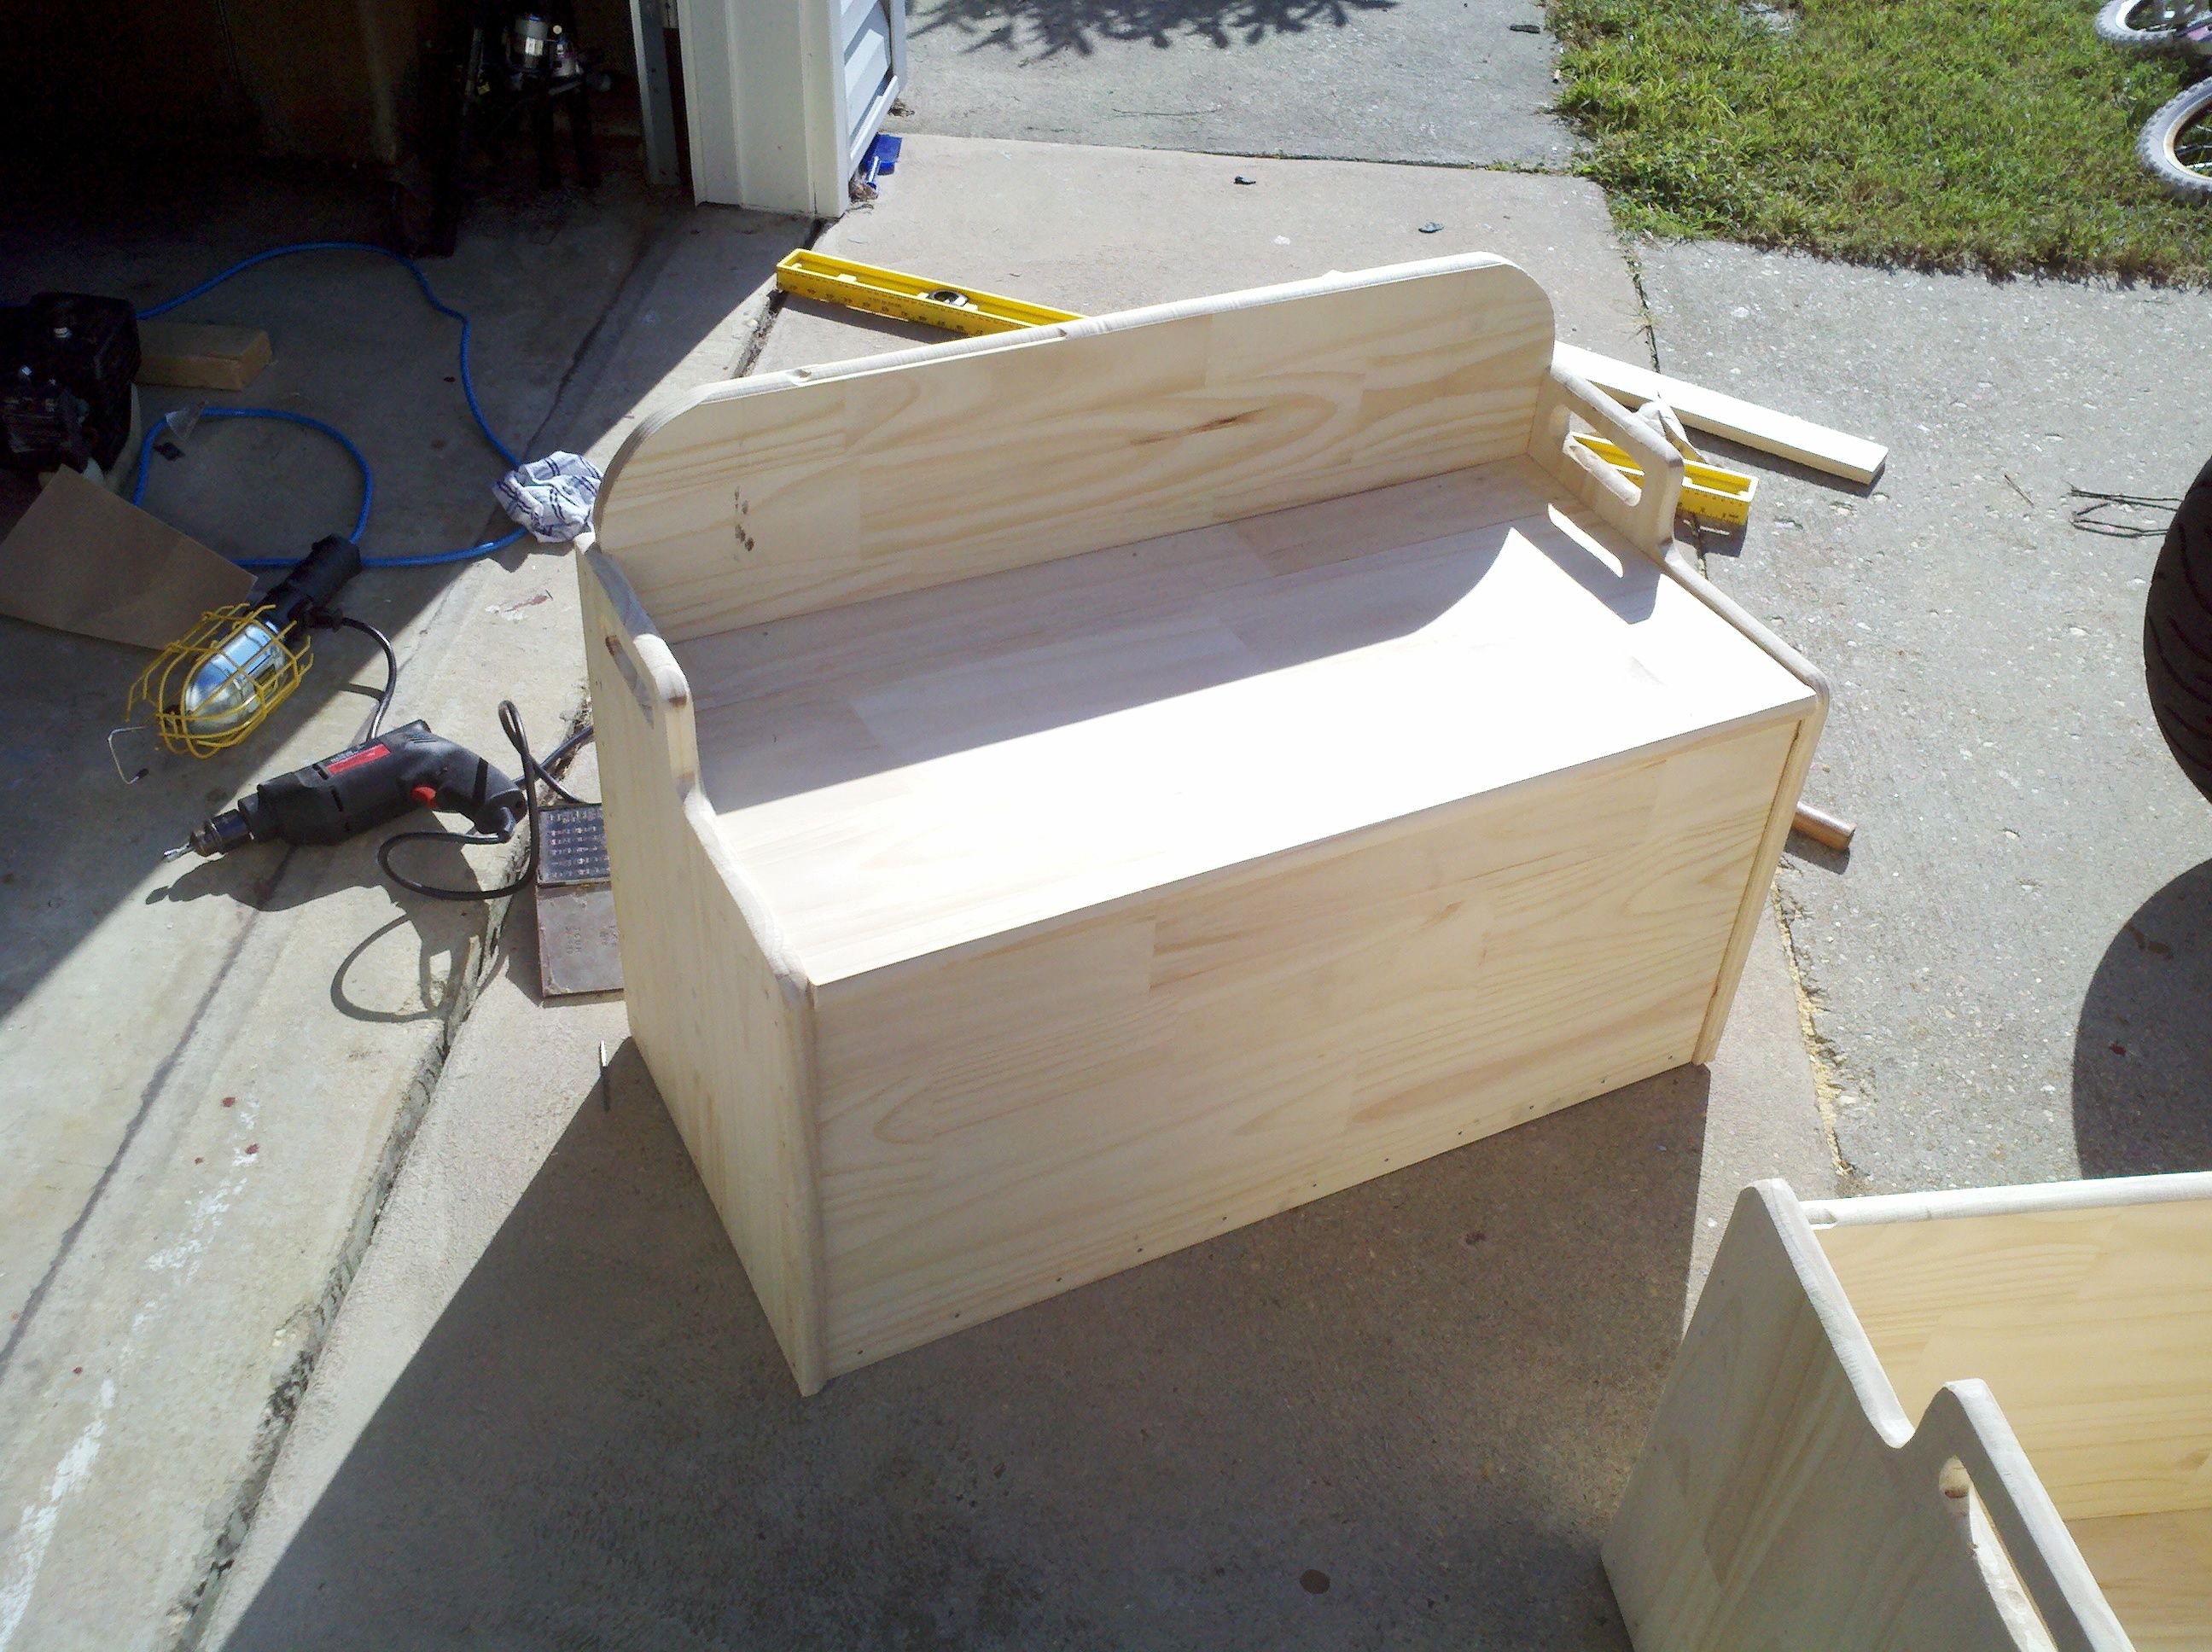
After a couple of days (not like it was preplanned - just when I got a chance), I went back and installed the supports for the back deck and the lid. At first, I had the back deck and the liid just a skosh too wide, so I tiik them back tot he router, and trimmed off about an eight of an inch from the ends. This let them fit, but it was pretty tight. Which is good, I guess. I marked off where the supports needed to lie, and pilot drilled them, making a small starter hole in the underlying wood, as well (in the back & sides). Basically, everything was match-drilled, so it would all align. I then counter-sunk the supports' screw holes. I applied the carpentry glue to the back of the supports, and then screwed them down using the brass screws. The screws really aren't structural, they're just holding things firmly in place until the glue is dry. But, they got left in, so they do provide some support.
I only waited a few hours before I installed the back deck - it was a nice, bright, sunshiney day, and I was working outside. The boxes were warmed pretty well by the sun, so I figured the glue was probably set-up enough to go ahead and install the decking. I applied some more glue, inserted the deck, and then used the small finishing nails to set it into place - one nail on each side, and three across the back. I also set a brick on the deck to give pressure for the glue. Note: when putting them together, you need a wet wash cloth handy for any excess glue that runs out.
At this point, I went ahead and installed the lids and hinges. I mostly just eyeballed the hinges for alignment, but they look okay - that's one thing I'm not too bad at, the calibration of my mk I eyeball seems to be pretty good. The cuts on the back deck weren't so straight, though, so I stuffed some wood putty back there to seal the cracks. I also stuck some in the front router grooves, since I overshot those just a bit (what, with it being a blind cut, and all). I'm kind of coveting a table saw, right now, but I can't imagine that I'd ever use it enough to be worth it... This is the point where my brothers and friends scream at me about the "manly man manual," and how you should never turn down an excuse to get a new tool... Anyways, I let the filler dry, and then went over the boxes with some sandpaper - this got rid of excess filler, and also removed the pencil lines. All that's left is to pain them. I'll do that sometime in the near future, and then the little ones' Christmas presents will be finished.
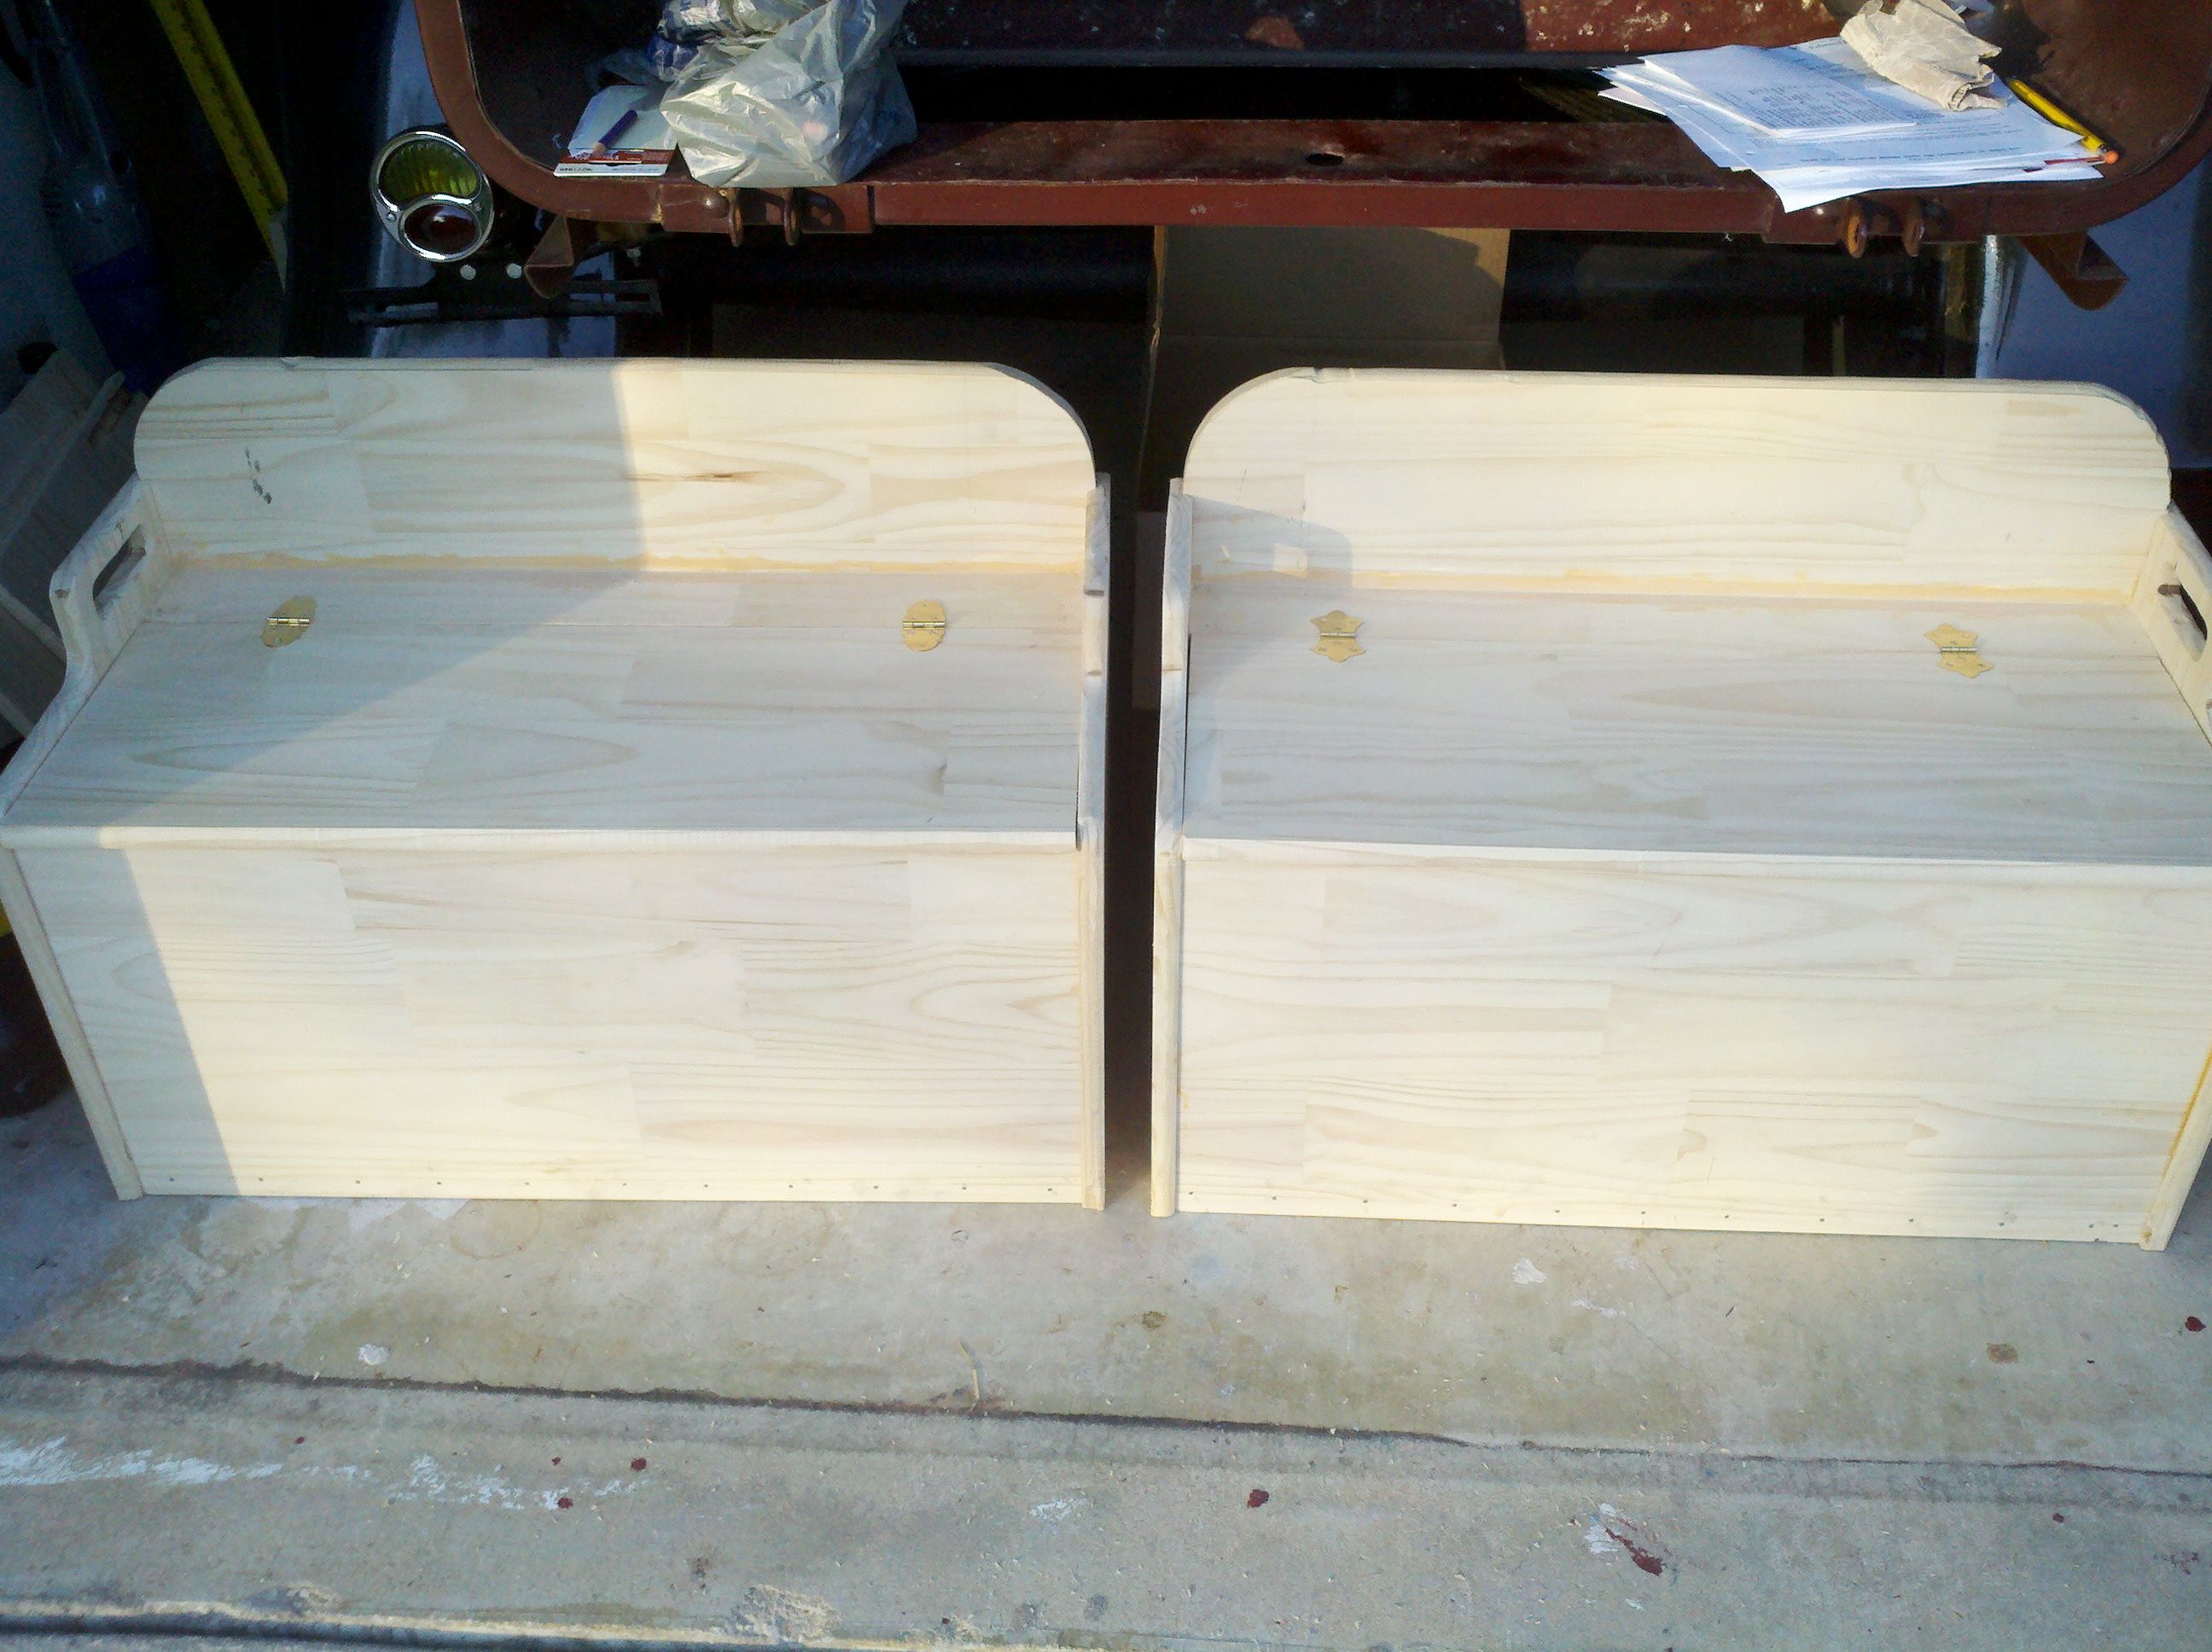
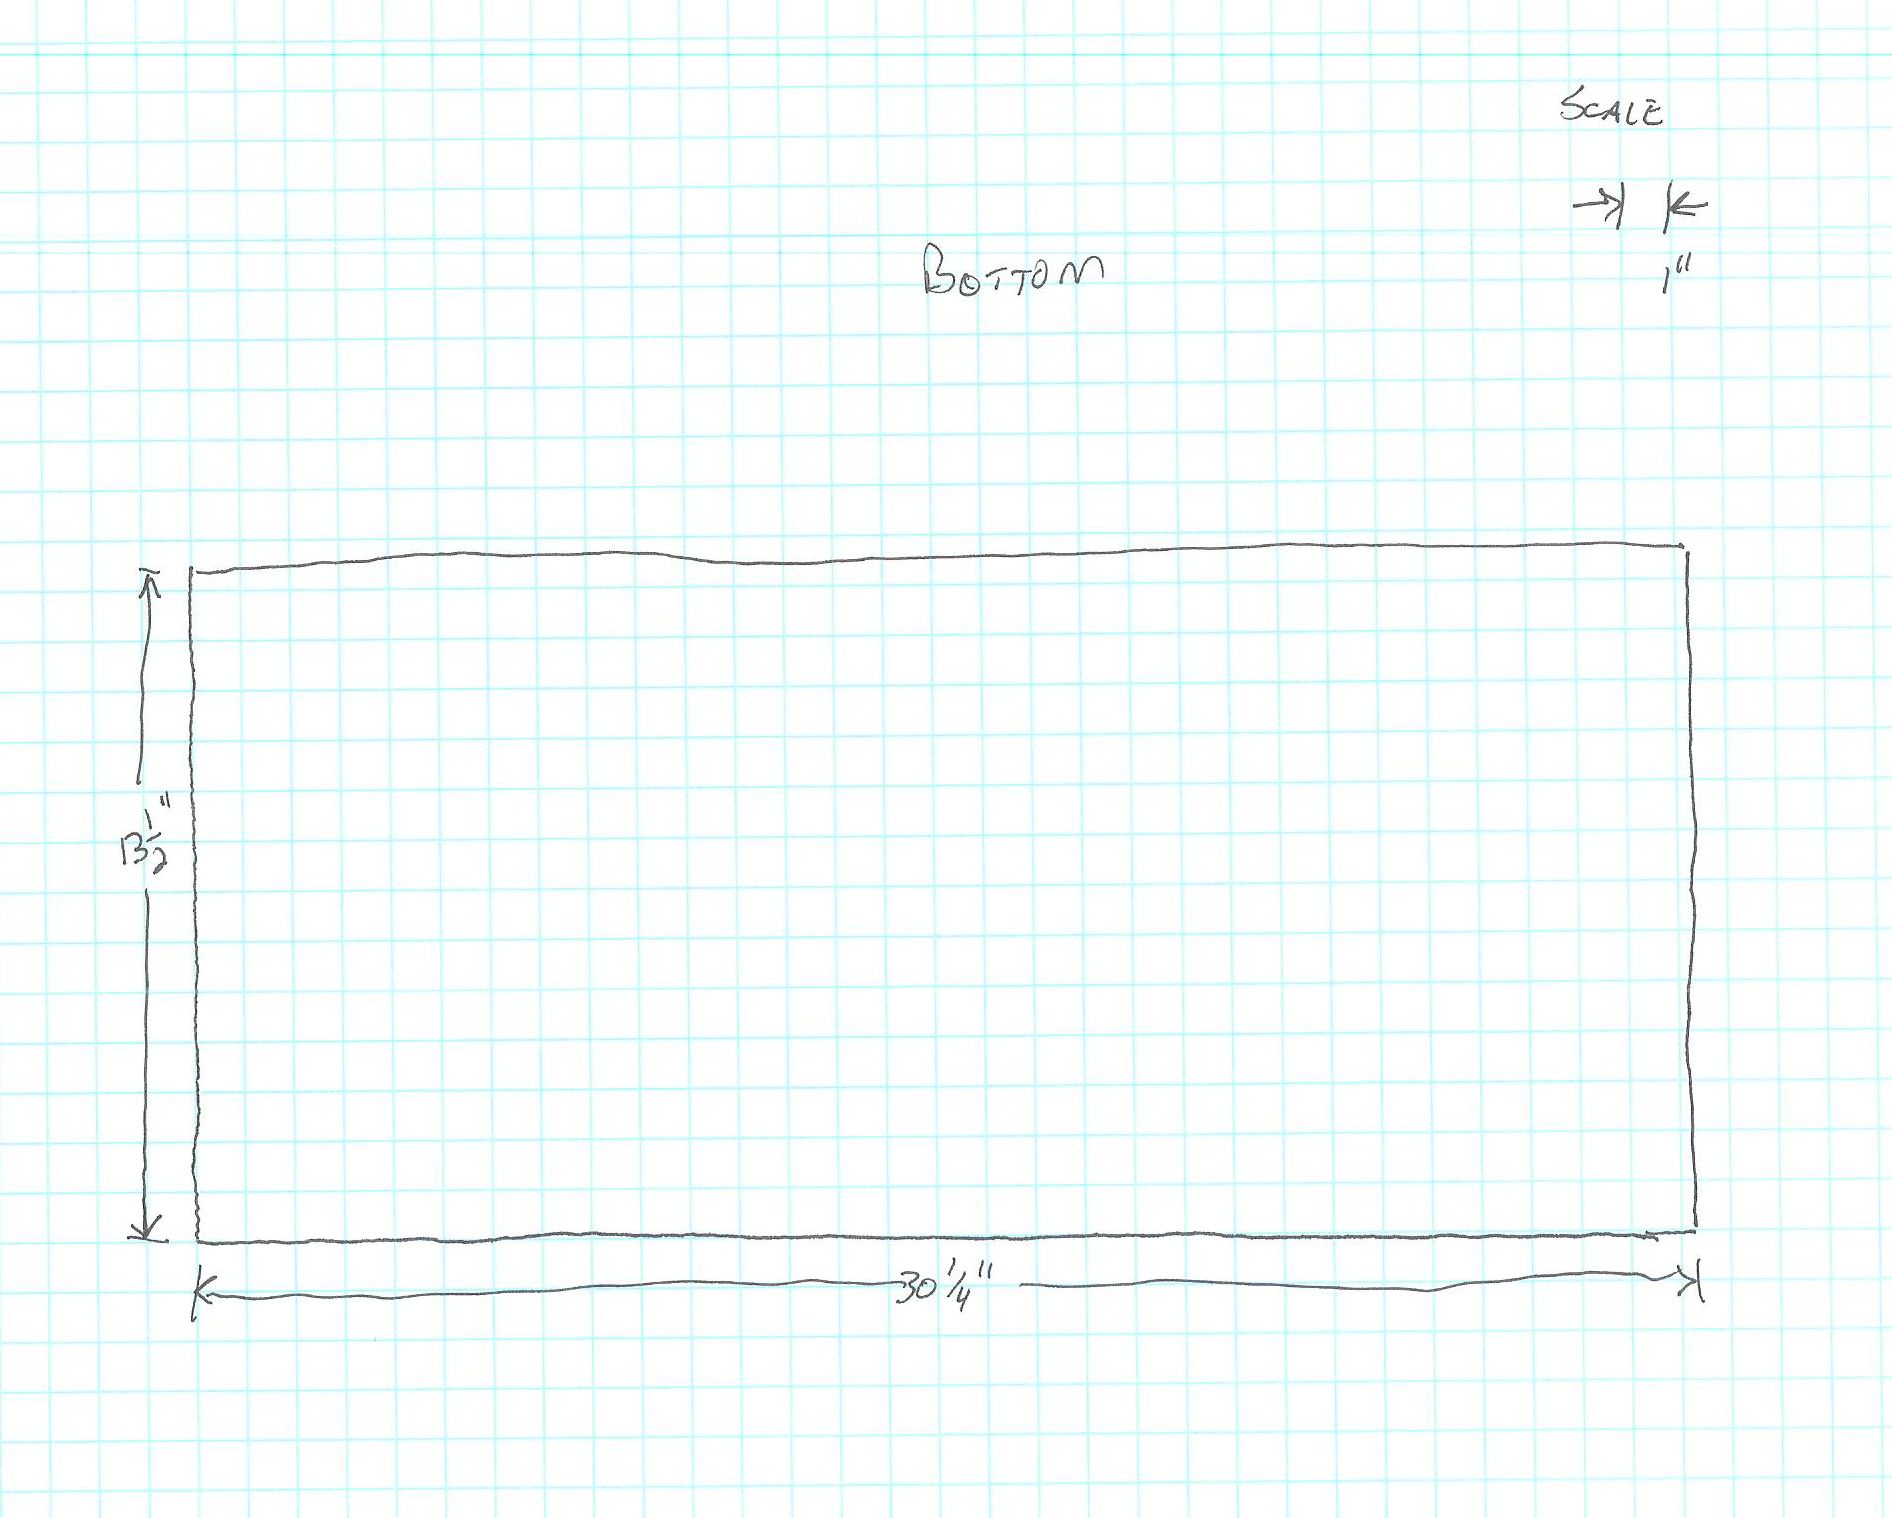
There ya go, project complete. If you would like to build your own toybox, using these plans, the drawings are below. Just click the picture to get the full-sized image (that's a little more readable). These toy boxes are perfectly sized to be benches, too - I considered adding cushions to the tops of them, but finally decided against it. You do what you want.
Update
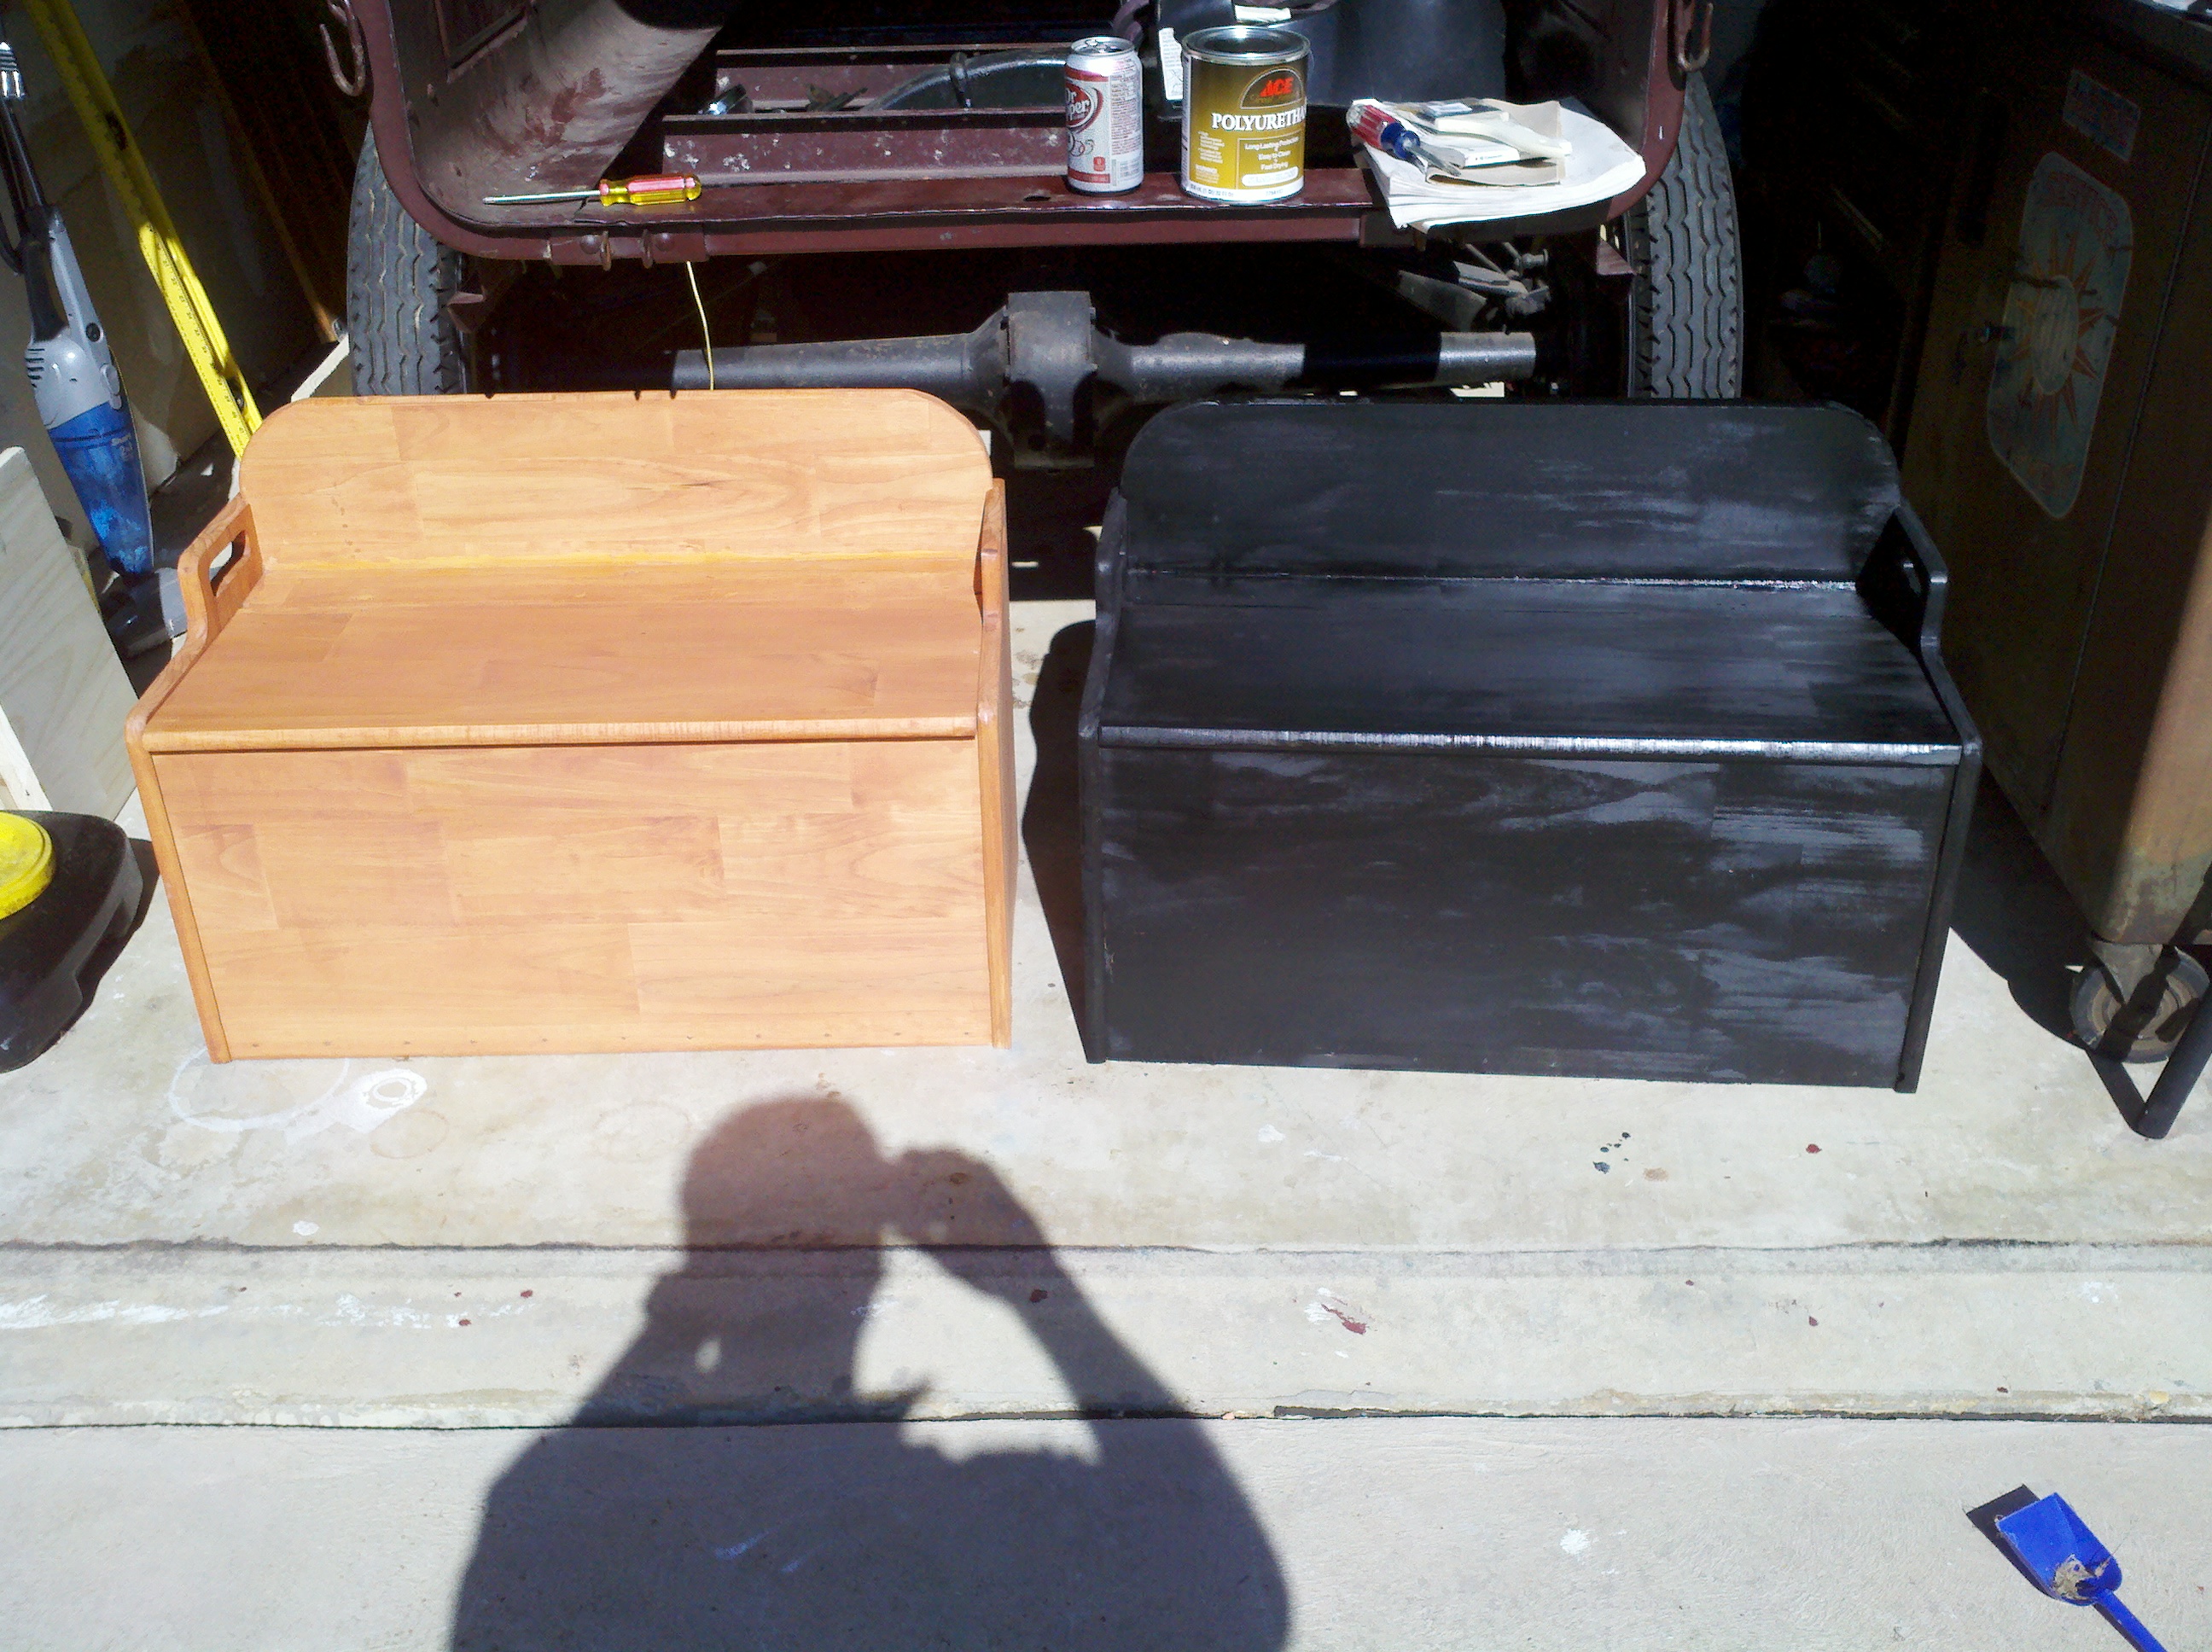
Toy boxes got stained today. The Callie chose "ebony" for hers. No doubt, she went straight to
it. Here they are, hinges removed & stained. Tomorrow I wil likely apply some polyurethane.
